Cheesy Halloween Breadstick Bones: Spooktacular Treats!
Spookily Delicious and Oh-So Fun!
Last Halloween, I decided to whip up a batch of Cheesy Halloween Breadstick Bones to surprise my friends at our spooky gathering. The moment they came out of the oven, the enticing aroma filled the kitchen, and with each cheesy bite, everyone couldn’t get enough of their delightful crunch and gooey goodness. It was such an easy recipe that I found myself making them again just a few days later!
What makes these breadstick bones truly special is the way they turn an ordinary snack into a festive treat that sparks joy and laughter. The sight of those bone-shaped delights on the table made my party feel extra whimsical, and watching my friends’ faces light up was priceless. They’re perfect not only for Halloween parties but also for cozy family dinners or even a fun movie night.
To elevate your experience, serve these cheesy creations alongside a warm marinara dip or a zesty garlic butter spread for an added layer of flavor. You can also sprinkle some herbs or additional cheese on top before baking to really amp up the taste. Trust me, once you make these Cheesy Halloween Breadstick Bones, they’ll become your go-to recipe for any gathering—so let’s get baking!
What are Cheesy Halloween Breadstick Bones?
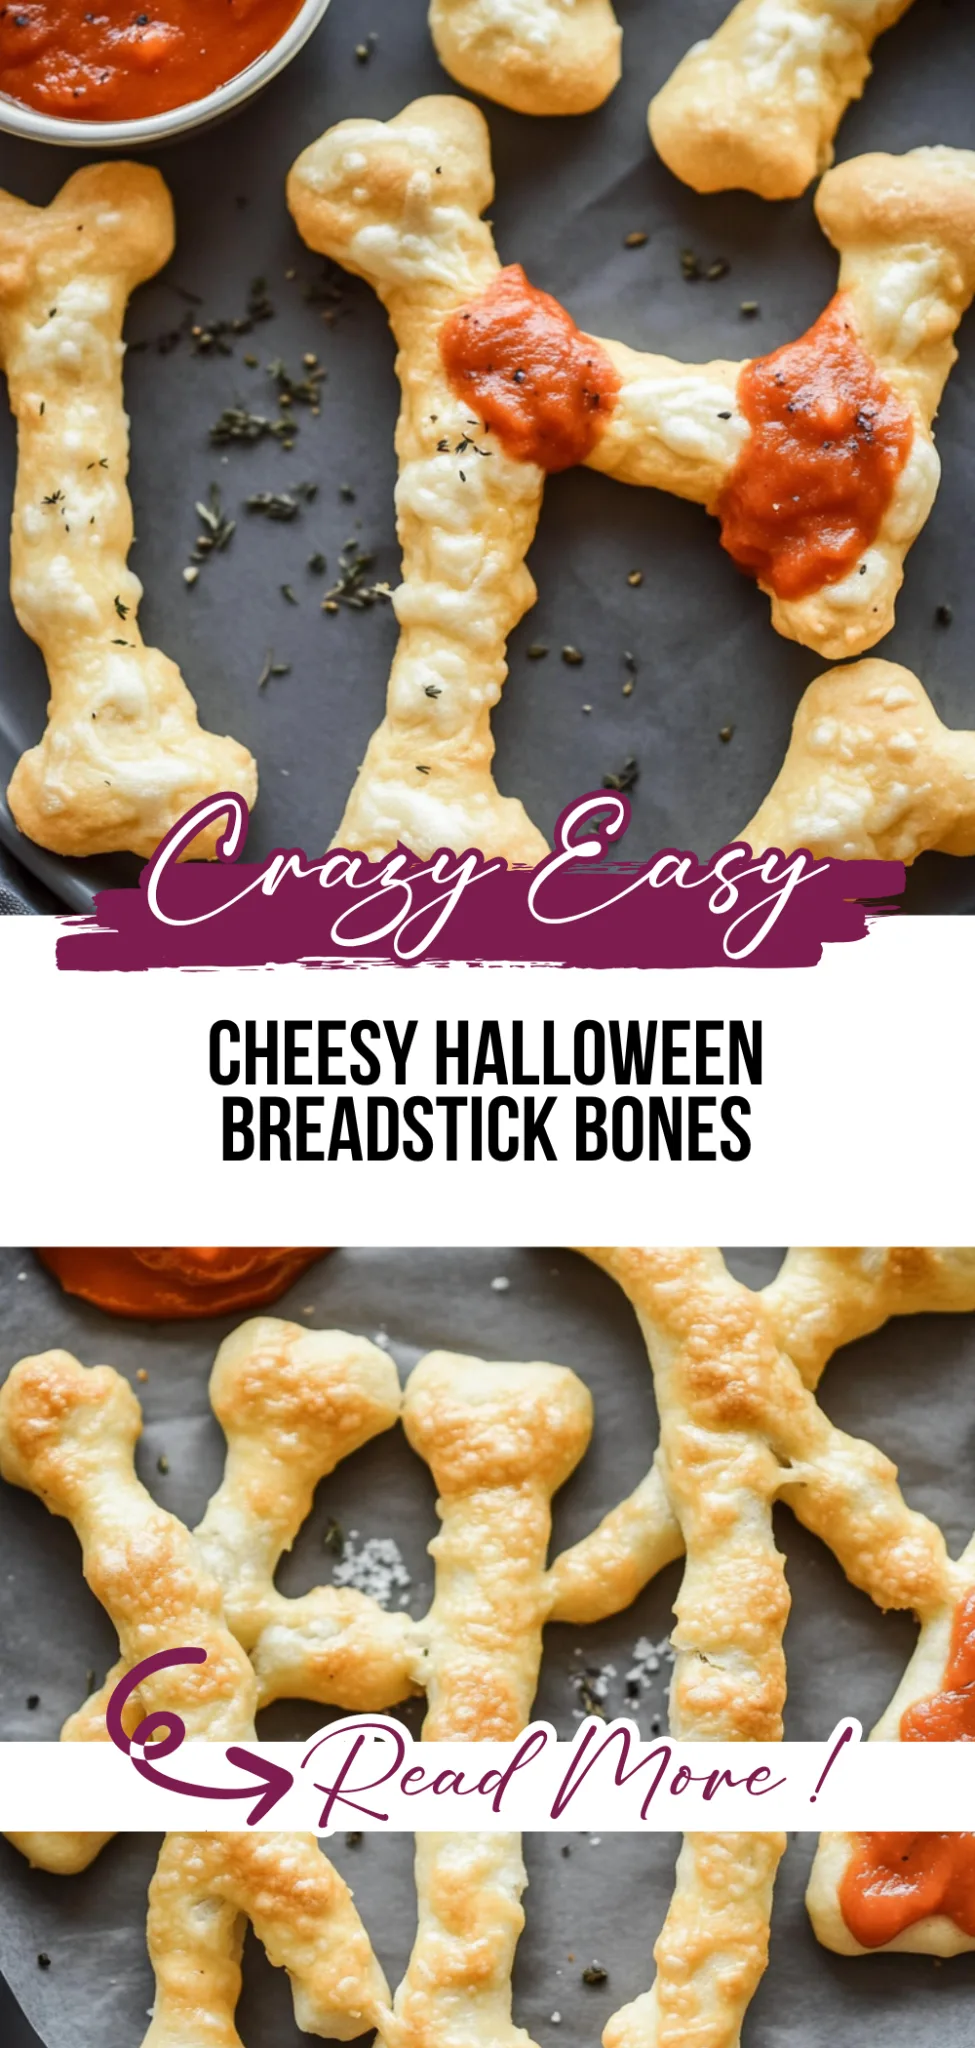
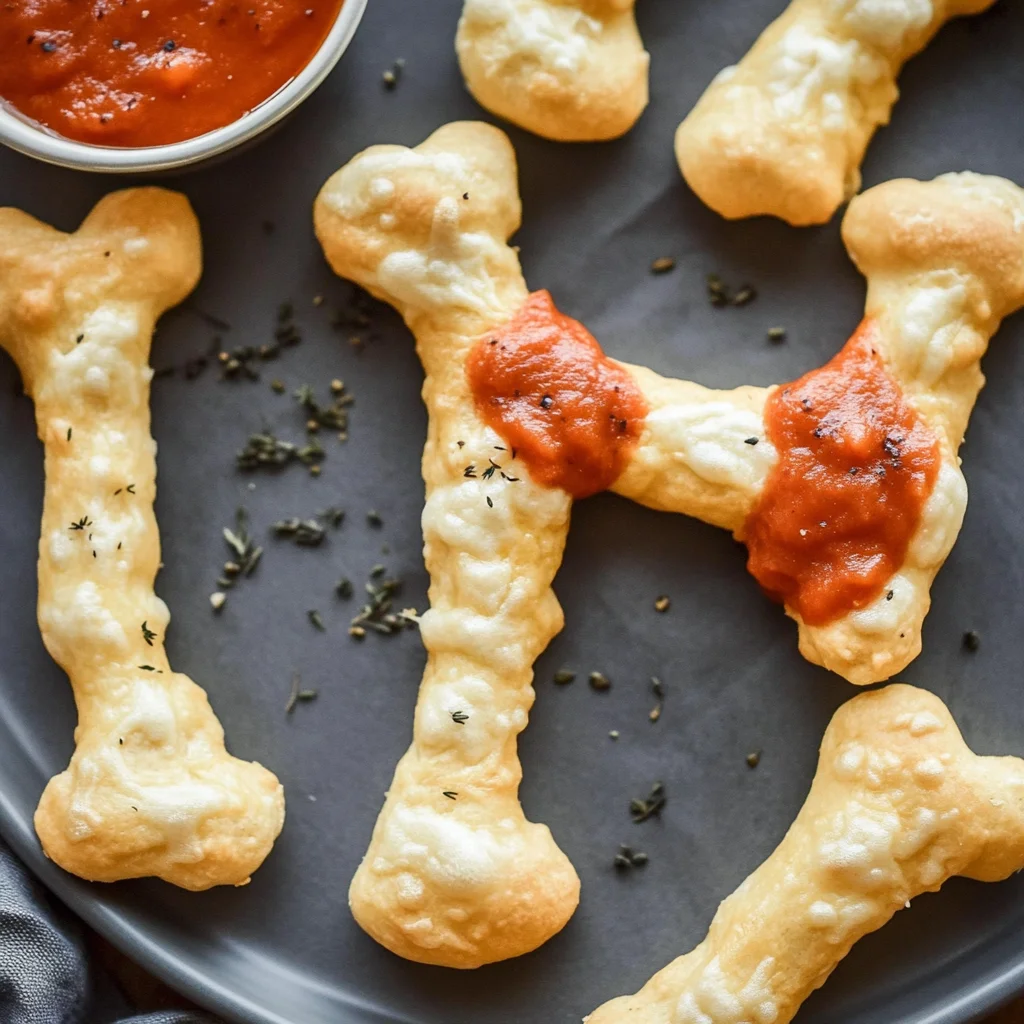
Cheesy Halloween Breadstick Bones are a fun and festive twist on traditional breadsticks, perfect for adding a spooky touch to your Halloween gatherings. These delightful treats are made with a simple dough that includes warm water, active dry yeast, sugar, all-purpose flour, salt, and olive oil, creating a tender and slightly chewy texture. Once shaped like bones, they are filled with a creamy blend of mozzarella, cream cheese, and Parmesan, seasoned with garlic powder and Italian herbs for an extra burst of flavor. Baked until golden brown in the oven, these breadsticks offer a crispy outside while remaining soft and cheesy inside, making them an easy and enjoyable option for your holiday festivities with minimal cleanup required.
Perfect For:
Halloween Parties: These spooky breadstick bones are a fun and festive addition to any Halloween gathering, sure to delight both kids and adults alike.
Family Fun Nights: Get the whole family involved in the kitchen by shaping these cheesy treats together, making for a memorable evening filled with laughter and creativity.
Budget-Friendly Treats: With simple ingredients that you likely already have on hand, these breadstick bones offer a deliciously cheesy experience without breaking the bank.
Comforting Snacks: Perfect for cozy nights in, serve these warm and cheesy breadsticks alongside your favorite Halloween movie for a satisfyingly spooky snack.
Cheesy Halloween Breadstick Bones Ingredients
For the Dough
- 1 cup warm water (about 110°F) – This activates the yeast, giving your breadsticks a perfect rise and soft texture.
- 2 teaspoons active dry yeast (or instant yeast) – Essential for leavening, adding that delightful fluffiness to your Cheesy Halloween Breadstick Bones.
- 2 tablespoons sugar (granulated) – Helps to feed the yeast and adds a hint of sweetness to balance the savory flavors.
- 3 cups all-purpose flour (plus extra for dusting) – Provides the structure for your breadsticks; be sure to measure accurately for best results.
- 1 teaspoon salt – Enhances flavor and helps control the fermentation process of the dough.
- 2 tablespoons olive oil – Adds richness and moisture, making the breadsticks tender and flavorful.
For the Cheese Filling
- 1 cup shredded mozzarella cheese – Melts beautifully for that gooey center everyone loves in cheesy breadsticks.
- 1/2 cup cream cheese (softened) – Contributes creaminess and a rich flavor that pairs wonderfully with mozzarella.
- 1/4 cup parmesan cheese (grated) – Offers a sharp, nutty flavor that elevates your cheesy filling to new heights.
- 1 teaspoon garlic powder – Infuses a delicious depth of flavor that complements the cheesy filling perfectly.
- 1 teaspoon Italian seasoning – A mix of herbs that adds aromatic notes, enhancing the overall taste of your breadsticks.
For the Toppings
- 1 tablespoon olive oil (for brushing) – Gives your breadsticks a beautiful golden color and adds flavor before baking.
- 1 teaspoon sea salt (for sprinkling) – Provides a burst of flavor on top, balancing the richness of the cheese filling.
- 1 teaspoon dried parsley (for garnish) – Adds a pop of color and freshness, making your spooky breadsticks visually appealing!
Kitchen Equipment You’ll Need
- Mixing bowl
- Measuring cups and spoons
- Rolling pin
- Sharp knife or pizza cutter
- Baking sheet
- Parchment paper
- Pastry brush
How to Make Cheesy Halloween Breadstick Bones
Step 1:
In a mixing bowl, combine 1 cup of warm water (about 110°F), 2 teaspoons of active dry yeast, and 2 tablespoons of granulated sugar. Allow this mixture to sit for about 5 minutes until it becomes frothy. This frothiness indicates that your yeast is active and ready to help your breadsticks rise beautifully.
Step 2:
Next, add 3 cups of all-purpose flour, 1 teaspoon of salt, and 2 tablespoons of olive oil to the yeast mixture. Stir everything together until a dough starts to form. You want a cohesive dough that’s not too sticky; if needed, sprinkle in a little extra flour as you mix.
Step 3:
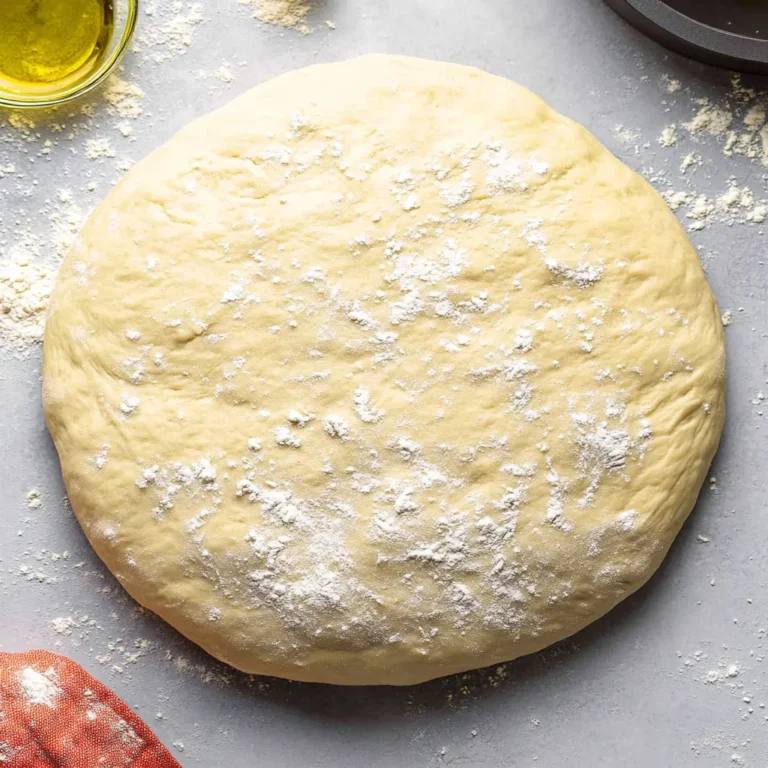
Once your dough is combined, transfer it to a floured surface and knead it for about 5 minutes until it feels smooth and elastic. After kneading, place the dough in a greased bowl, cover it with a clean cloth or plastic wrap, and let it rise in a warm spot for about 1 hour. It should double in size, giving you that lovely airy texture.
Step 4:
While the dough is rising, prepare the cheese filling. In a separate bowl, mix together 1 cup of shredded mozzarella cheese, 1/2 cup of softened cream cheese, 1/4 cup of grated Parmesan cheese, 1 teaspoon of garlic powder, and 1 teaspoon of Italian seasoning. Blend these ingredients until they are well combined and creamy—this will be your deliciously cheesy surprise inside!
Step 5:
Preheat your oven to 375°F (190°C) and line a baking sheet with parchment paper to prevent sticking. This step is crucial for achieving that perfect golden-brown finish on your breadsticks.
Step 6:
After the dough has risen for an hour, gently punch it down to release any air bubbles. Roll the dough out on a floured surface to about 1/2 inch thick. You want it thick enough to hold that gooey cheese filling but thin enough to bake perfectly.
Step 7:
Cut the rolled-out dough into strips that are approximately 1 inch wide and 6 inches long. Place about a tablespoon of your cheesy filling in the center of each strip before folding the dough over and sealing the edges tightly. Make sure they are well sealed so the cheesy goodness stays inside while baking!
Step 8:
Shape each filled strip into bone shapes by pinching the ends to create thicker segments resembling bones. This fun shaping adds to the spooky Halloween theme while ensuring even baking throughout.
Step 9:
Place your shaped breadsticks on the prepared baking sheet. Brush them lightly with olive oil for added flavor and sprinkle with sea salt for that perfect touch of seasoning. These toppings will enhance their appearance and taste wonderfully!
Step 10:
Bake in your preheated oven for about 15 minutes or until they turn golden brown. Keep an eye on them; you want them nice and crispy on the outside while remaining soft inside.
Step 11:
Once baked, remove them from the oven and sprinkle with dried parsley for garnish before serving. The vibrant green will make these cheesy Halloween breadstick bones really pop! Enjoy sharing these delightful treats at your Halloween party!
- Check water temperature: Ensure your warm water is around 110°F; too hot can kill the yeast, preventing your dough from rising properly, while too cold will slow the activation process.
- Don’t rush the rise: Allow the dough to rise for a full hour or until it doubles in size. This step is crucial for achieving a light and airy texture in your breadsticks.
- Knead thoroughly: Kneading for about 5 minutes until smooth helps develop gluten, which gives your breadsticks that desirable chewy texture. Under-kneaded dough can result in flat sticks.
- Seal the edges well: When folding over the dough with cheese filling, make sure to pinch the edges tightly. This prevents leakage during baking and keeps all that cheesy goodness inside.
- Watch for golden brown: Keep an eye on your breadsticks while baking; they should be golden brown after about 15 minutes. Overbaking can lead to dry breadsticks, while underbaking may leave them doughy.
- Garnish after baking: Sprinkle dried parsley just after you take the breadsticks out of the oven. This not only adds a pop of color but also gives a fresh flavor that enhances the overall presentation.
Optional Ingredients
- Pepper Jack cheese: For a spicy kick, replace some of the mozzarella with shredded Pepper Jack cheese. It adds a creamy texture and a delightful heat that will surprise your guests.
- Crushed red pepper flakes: Sprinkle these on top before baking to infuse your breadsticks with warmth and spice. This will elevate the flavor profile and give your Halloween snacks an exciting twist.
- Sautéed spinach: Adding finely chopped sautéed spinach to the cheese filling offers a burst of color and a nutritional boost. Mix it in with the cheeses for a deliciously earthy contrast.
- Lemon zest: Incorporate lemon zest into the dough or sprinkle it atop the finished breadsticks for a refreshing brightness that balances the richness of the cheese.
- Balsamic glaze: Drizzle balsamic glaze over the baked breadsticks for a sweet and tangy finishing touch that perfectly complements their savory flavors. This adds both elegance and depth to your spooky treat.
- Chopped fresh basil: For a vibrant, herbal note, garnish your breadsticks with chopped fresh basil after baking. It not only enhances the visual appeal but also brings a fresh aroma that pairs well with cheesy goodness.
What to Pair with Cheesy Halloween Breadstick Bones?
To complement the cheesy richness of your Halloween breadstick bones, consider serving a fresh salad. A crisp arugula salad with cherry tomatoes and a light lemon vinaigrette can provide a refreshing contrast to the savory flavors of the breadsticks. The peppery notes of arugula will cut through the creaminess of the cheese, while the acidity from the lemon dressing will brighten the overall meal.
For those who enjoy heartier flavors, steamed or roasted vegetables make an excellent pairing. Roasted Brussels sprouts tossed in olive oil and garlic or steamed green beans with a sprinkle of sea salt would create a delightful balance. The slight bitterness of roasted Brussels sprouts enhances the cheesy goodness, while green beans add a crunchy texture that contrasts beautifully with the soft breadsticks.
If you’re looking for something comforting, serve your cheesy breadsticks alongside creamy mashed potatoes or buttery corn on the cob. The rich, smooth texture of mashed potatoes can provide a lovely counterpoint to the chewiness of the breadsticks, while sweet corn adds a pop of flavor that complements both the cheese and garlic notes perfectly. This combination creates a feeling of warmth and indulgence that’s perfect for any Halloween gathering.
Finally, consider a drink pairing to elevate your spooky feast. A sparkling apple cider would not only be festive but also offer a sweet effervescence that balances out the salty, cheesy breadsticks. Alternatively, a light white wine like Pinot Grigio can enhance the dish’s flavors without overwhelming them, making it an ideal sip alongside your deliciously spooky creation.
Variations and Substitutions
Whole Wheat Flour for a Healthier Option: Swap out all-purpose flour for whole wheat flour to add more fiber and nutrients to your breadsticks. This variation will give your cheesy bones a heartier texture and a slightly nutty flavor that pairs wonderfully with the creamy cheese filling.
Spinach and Feta Filling for a Mediterranean Twist: Replace the mozzarella and cream cheese filling with a mixture of chopped spinach and crumbled feta cheese. This Mediterranean-inspired filling offers a tangy flavor profile while still keeping the cheesy goodness, making it a deliciously unique option for Halloween gatherings.
Garlic Herb Butter Brush for Extra Flavor: Instead of brushing with just olive oil, mix melted butter with minced garlic and fresh herbs like rosemary or thyme. This variation adds a rich, aromatic finish to your breadsticks, enhancing their overall flavor while giving them an irresistible golden sheen.
Cauliflower Crust for a Low-Carb Delight: For a low-carb alternative, use cauliflower rice mixed with egg and cheese to form a crust instead of traditional dough. These gluten-free breadstick bones deliver a delightful crunch and are perfect for those watching their carbohydrate intake while still enjoying festive treats.
Buffalo Chicken Filling for Spicy Lovers: Incorporate shredded cooked chicken tossed in buffalo sauce into your cheese filling. This spicy twist introduces a kick that adds excitement to your Halloween spread, delivering both heat and flavor that pairs perfectly with the soft breadstick exterior.
Dairy-Free Cheese Options for Vegan Friendly Bones: Use dairy-free cheeses such as cashew cream or almond-based cheese substitutes in place of mozzarella and cream cheese. This variation caters to vegan diets while still offering that melty, cheesy experience when baked, ensuring everyone can enjoy these spooky treats.
Pumpkin Spice Dough for Fall Flair: Add 1/2 cup of pumpkin puree along with the wet ingredients in your dough preparation to infuse seasonal flavors into your breadsticks. This sweet twist creates an inviting aroma and taste that complements the savory cheese filling beautifully—perfect for autumn celebrations!
How to Store
To store your Cheesy Halloween Breadstick Bones, let them cool completely before placing them in an airtight container or wrapping them tightly in plastic wrap. They will keep well in the refrigerator for up to 3 days. When you’re ready to enjoy them again, simply reheat in the oven at 350°F for about 10 minutes, which helps restore their crispy texture.
These breadsticks can also be frozen if you want to prepare them in advance. To freeze, individually wrap each breadstick in plastic wrap and then place them in a freezer-safe bag or container. They can be stored for up to 2 months. To thaw, simply leave them in the refrigerator overnight and reheat in the oven at 350°F for about 15 minutes; note that the texture may be slightly softer after freezing.
FAQ
Can I use whole wheat flour instead of all-purpose flour for the breadsticks?
Yes, you can substitute whole wheat flour for all-purpose flour, but keep in mind that it may result in a denser texture. You might want to start with a 50/50 blend of whole wheat and all-purpose flour to balance the dough’s structure.
What can I use instead of cream cheese in the cheese filling?
If you don’t have cream cheese on hand, you can use ricotta cheese or a soft goat cheese as alternatives. Both options will provide a creamy texture, though the flavor will slightly differ.
How long should I let the dough rise?
The dough should rise for about 1 hour or until it has doubled in size. Make sure to place it in a warm, draft-free area to encourage proper rising.
Can I prepare the dough in advance and store it?
Absolutely! You can prepare the dough a day ahead, let it rise, then punch it down and refrigerate it. Just allow it to come back to room temperature before shaping the breadsticks.
How do I know when my breadsticks are done baking?
Your breadsticks are ready when they are golden brown on top and sound hollow when tapped on the bottom. If you’re unsure, you can also check with a toothpick inserted into one; it should come out clean.
Can I freeze the baked breadstick bones for later use?
Yes, you can freeze the baked breadsticks! Let them cool completely, then wrap them tightly in plastic wrap or aluminum foil before placing them in an airtight container. They can be reheated directly from the freezer in an oven.
Cheesy Halloween Breadstick Bones
Ingredients
Method
- In a mixing bowl, combine warm water, yeast, and sugar. Let it sit for 5 minutes until frothy.
- Add flour, salt, and olive oil to the yeast mixture. Mix until a dough forms.
- Knead the dough on a floured surface for about 5 minutes until smooth. Place in a greased bowl, cover, and let rise for 1 hour.
- In a bowl, mix together mozzarella, cream cheese, Parmesan, garlic powder, and Italian seasoning until well combined.
- Preheat the oven to 375°F (190°C) and line a baking sheet with parchment paper.
- Once the dough has risen, punch it down and roll it out on a floured surface to about 1/2 inch thick.
- Cut the dough into strips about 1 inch wide and 6 inches long. Place a tablespoon of cheese filling in the center of each strip and fold the dough over, sealing the edges.
- Shape the filled strips into bone shapes by pinching the ends and making them thicker.
- Place the shaped breadsticks on the prepared baking sheet. Brush with olive oil and sprinkle with sea salt.
- Bake in the preheated oven for 15 minutes or until golden brown.
- Remove from the oven and sprinkle with dried parsley before serving.