Irresistible Spooky Mummy Brownies for Halloween Fun!
The Secret to Perfect Spooky Mummy Brownies That Will Steal the Show
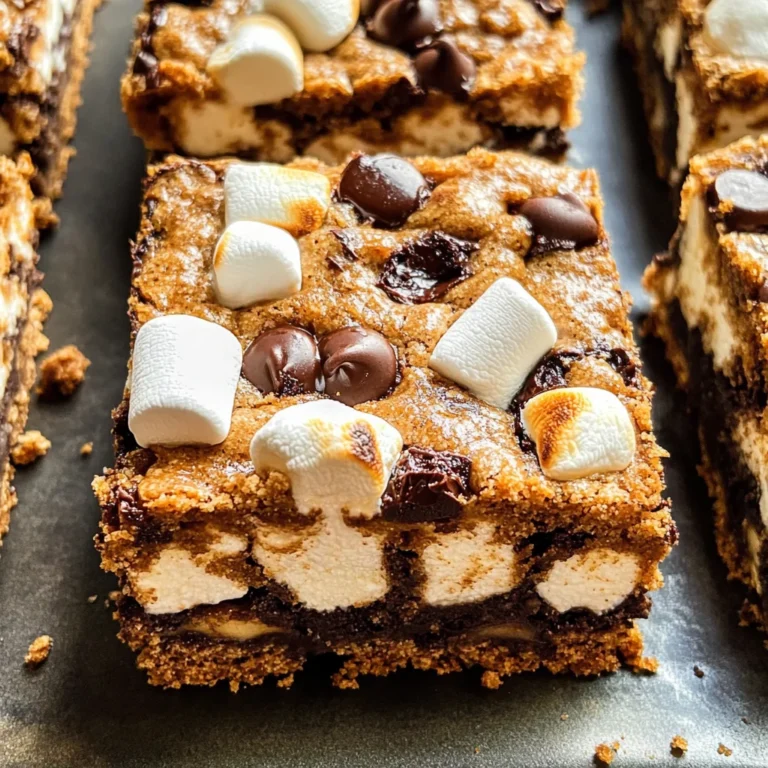
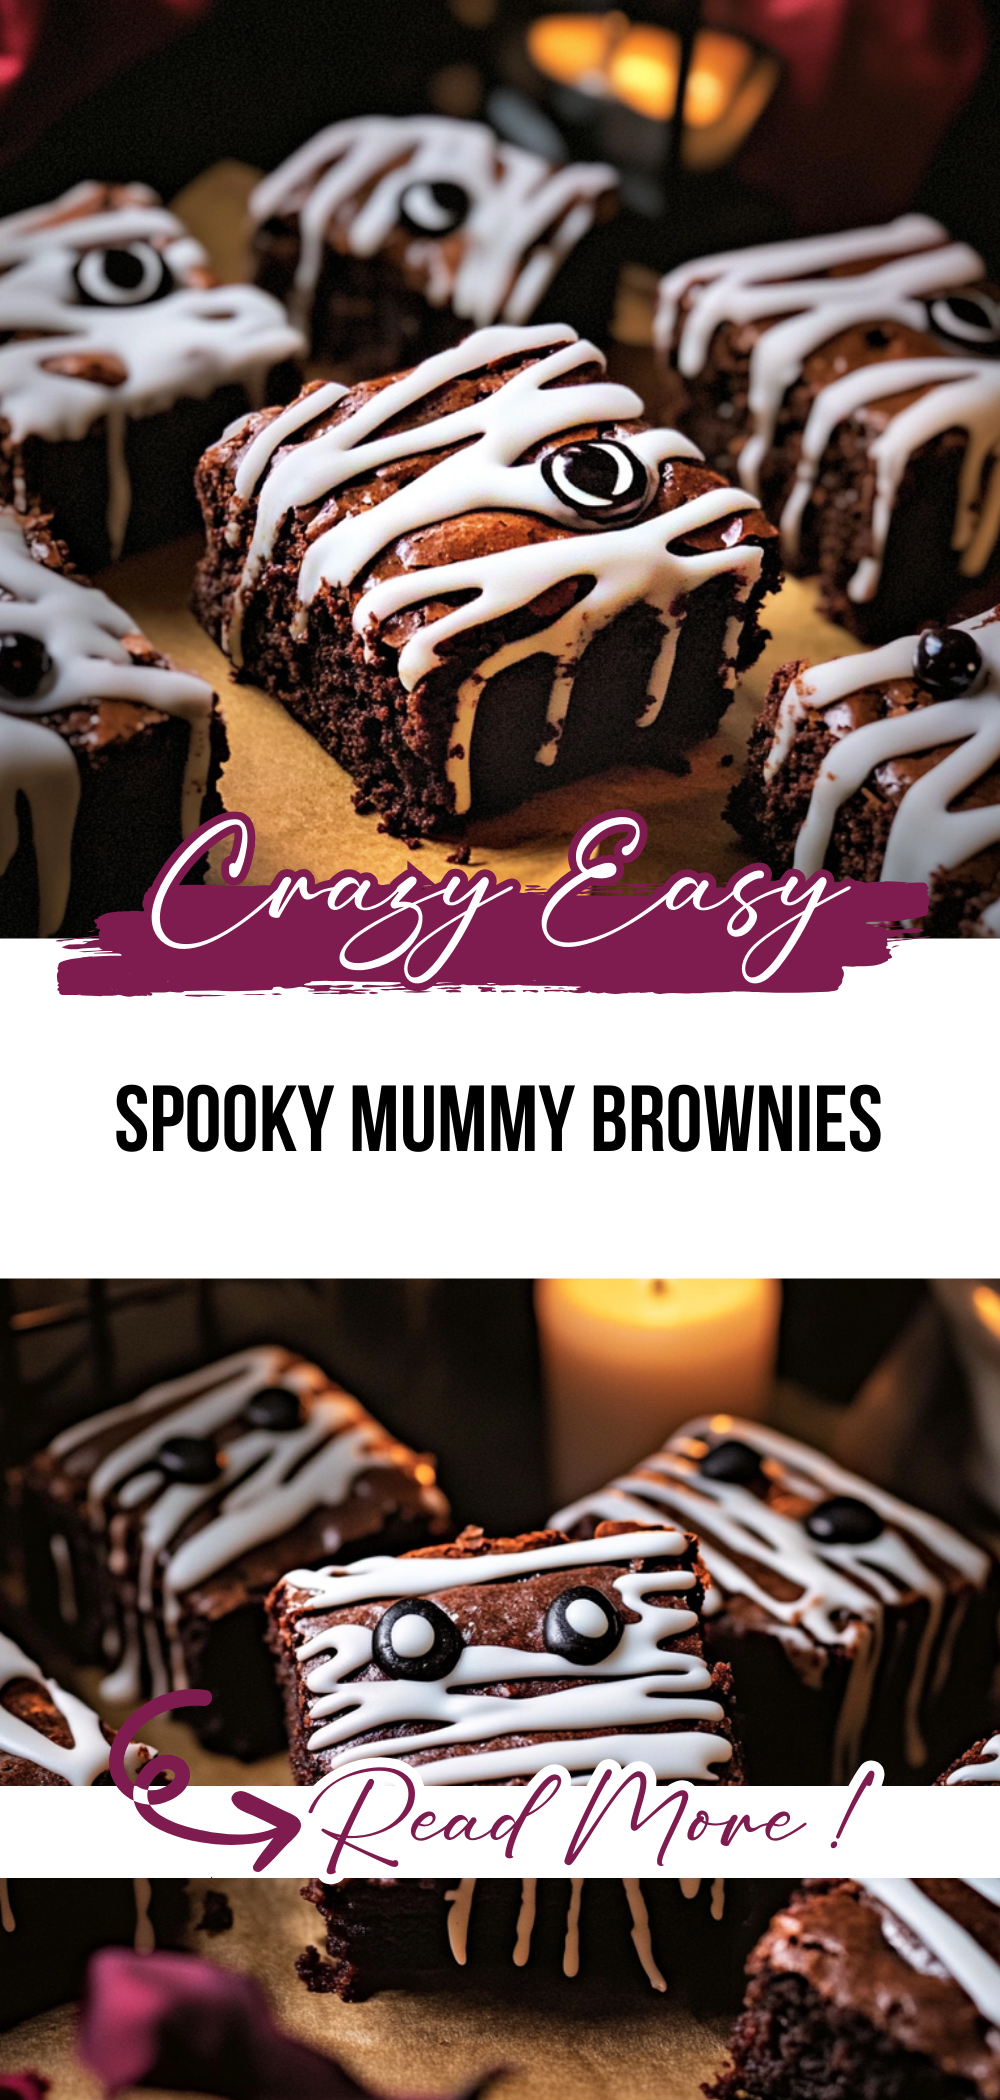
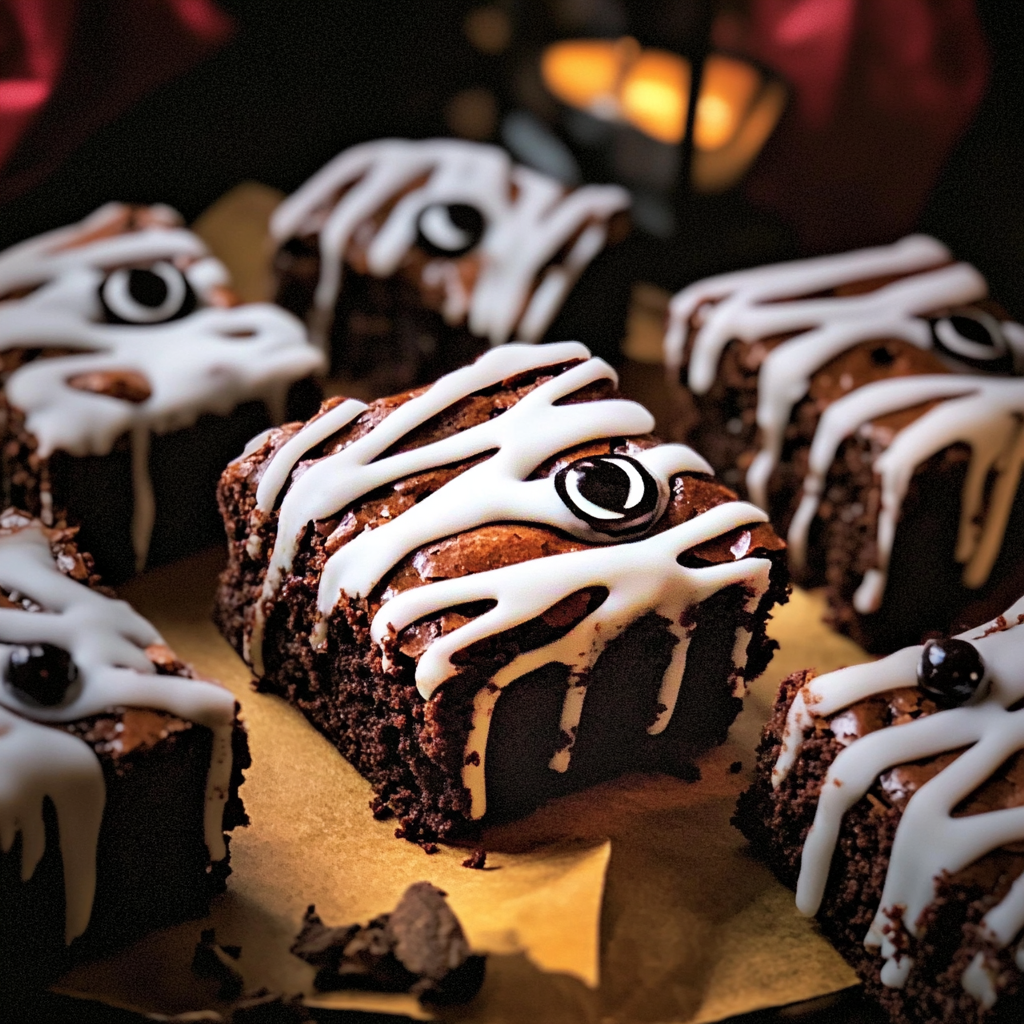
Get ready for a Halloween treat that’s almost too cute to eat! These spooky mummy brownies are the perfect blend of rich chocolate flavors and festive fun. With their gooey, fudgy texture and adorable candy eyes peeking out from creamy “bandages,” your friends and family won’t be able to resist these delightful little monsters. Whether you’re hosting a Halloween party or just want to bring some fun into your fall baking, these brownies are sure to be a hit!
Why You’ll Love This spooky mummy brownies
– Perfectly fudgy with a rich chocolate flavor that satisfies any sweet tooth.
– Easy to make, even for beginner bakers—no complicated steps here!
– A fun and creative way to celebrate Halloween with the whole family.
– Great for sharing at parties or school events, making you the favorite baker!
– Adorable presentation that makes these brownies a showstopper on any dessert table.
Preparation Phase & Tools to Use
Before you start whipping up these spooky treats, gather the following tools to streamline your baking process:
– 9 x 9 inch cake pan: Essential for baking your brownies evenly.
– Parchment paper: Helps with easy removal of the brownies after baking.
– Microwave-safe bowl: For melting chocolate and butter without fuss.
– Stand mixer or whisk: For beating ingredients together smoothly.
– Ziptop bag or pastry bag: Perfect for creating those spooky icing details.
Preparation Tips
For perfectly spook-tacular mummy brownies, ensure your butter and eggs are at room temperature before you start mixing. Don’t rush the cooling time; letting them chill in the freezer helps set the chocolate coating nicely. When decorating with icing, practice your crisscross patterns on parchment paper first if you’re feeling unsure!
Ingredients for this spooky mummy brownies
– 10 tbsp butter
– 1 1/2 cups dark chocolate chips or chunks
– 1 cup sugar
– 1/4 cup dark brown sugar
– 3 eggs, at room temperature
– 1 tsp espresso powder (optional)
– 2 tsp vanilla extract
– 3/4 cup all purpose flour
– 1/3 cup unsweetened cocoa powder
– 1/2 tsp baking powder
– 1/2 tsp kosher salt
Topping Ingredients
– 1 package candy eyes
– 20 oz semi-sweet or milk chocolate chips
– 1 tbsp coconut oil
Icing Ingredients
– 1 cup powdered sugar
– 2–3 tbsp heavy cream, to thin
Spooky Mummy Brownies
The perfect treat for Halloween or any fall gathering, these spooky mummy brownies are as delightful to look at as they are to eat. Almost too cute to enjoy, they combine rich chocolate with a fun twist that will have everyone smiling. Let’s dive into the step-by-step instructions to create this adorable and delicious dessert!
Step-by-Step Instructions
Step 1: Preheat the Oven
Start by preheating your oven to 350 degrees Fahrenheit. While it warms up, grab a 9 x 9 inch cake pan and line it with parchment paper, making sure it hangs over the edges. This will make it super easy to lift your brownies out once they’re baked. Trust me, you’ll want every morsel of these delicious goodies.
Step 2: Melt the Chocolate
In a microwave-safe bowl, combine 1 cup of dark chocolate chips with the butter. Microwave this mixture for one minute and then stir until it’s completely smooth. If the chocolate isn’t melted enough yet, feel free to pop it back in for another 20 seconds. It’s important not to overheat—just keep stirring until everything is well blended. Once melted, whisk in both the sugar and brown sugar until fully dissolved.
Step 3: Beat the Eggs
Now it’s time for some elbow grease! In your stand mixer (or a large bowl if you’re using a hand mixer), beat the eggs on high speed for about 2-3 minutes until they’re frothy and light. This step is crucial because it helps create a wonderfully airy brownie texture when combined with the chocolate mixture. Gradually stream in your cooled chocolate mixture while continuing to mix until everything is smooth and combined.
Step 4: Combine Dry Ingredients
With your mixer still running, add in the flour, cocoa powder, baking powder, and kosher salt to the wet ingredients. Mix just until everything is combined—overmixing can lead to tough brownies! Finally, gently fold in the remaining half cup of chocolate chips for that extra burst of chocolaty goodness in every bite.
Step 5: Bake the Brownies
Spread your brownie batter evenly into the prepared pan using a spatula. Bake in your preheated oven for 25-30 minutes or until a toothpick inserted into the center comes out with just a few moist crumbs clinging to it. Once done, remove them from the oven and let them cool completely in the pan on a wire rack before cutting them into squares.
Step 6: Prepare for Coating
While your brownies are cooling, let’s prepare for their “mummy” makeover! In another microwave-safe bowl, combine 20 oz of semi-sweet or milk chocolate chips with one tablespoon of coconut oil. Heat this mixture in one-minute intervals until melted and smooth—stirring between each interval. Allow it to cool slightly while you line a baking sheet with parchment paper.
Step 7: Dip Those Brownies!
Once your brownies are cool enough to handle (and set in the freezer for about 15 minutes), dip each square into your melted chocolate coating using a fork. Make sure all sides are covered but allow excess chocolate to drip off before placing them on your lined baking sheet. Pop these into the fridge for about 15 minutes so they can set properly.
Notes
These spooky mummy brownies can easily be adapted based on what you have on hand or personal preferences! If you want to introduce some fun flavors, consider adding nuts or swapping out half of the all-purpose flour for almond flour for a nuttier taste and texture. You can also play around with different types of chocolate chips—dark chocolate will give you a richer flavor while milk chocolate tends toward sweetness.
Watch Out for These Mistakes While Cooking
– Using cold eggs instead of room temperature can affect how well they incorporate.
– Overbaking can lead to dry brownies; always check with a toothpick.
– Not letting the melted chocolate cool slightly before dipping may cause it to melt away from your brownies.
– Skipping lining your pan will make removing brownies much harder later on.
Storage Instructions
To store leftovers, simply place any uneaten brownies in an airtight container at room temperature for up to three days. If you want them to last longer, you can freeze individual pieces wrapped tightly in plastic wrap followed by aluminum foil—this way, you’ll have some spooky treats ready at any time!
Estimated Nutrition
– Calories: Approx. 250 per brownie
– Protein: 3g
– Fat: 12g
– Carbs: 34g
Frequently Asked Questions
Can I use different types of chocolate?
Absolutely! Feel free to mix things up with dark chocolate or even white chocolate if you prefer something sweeter or creamier.
How do I know when my brownies are done?
The best way is by inserting a toothpick into the center; if it comes out with just a few moist crumbs attached, they’re perfectly done!
Can I make these ahead of time?
Yes! These brownies can be made up to two days in advance and stored properly so that they stay fresh.
Conclusion
I hope you’re feeling inspired to try out these delightful spooky mummy brownies! They truly bring together fun and flavor perfectly—ideal for sharing or enjoying yourself during those cozy fall evenings. Don’t forget to share your thoughts after making them; I’d love hearing how yours turned out!
Spooky Mummy Brownies
Ingredients
Method
- Preheat your oven to 350 degrees Fahrenheit and line a 9 x 9 inch cake pan with parchment paper.
- Melt 1 cup of dark chocolate chips with the butter in a microwave-safe bowl, stirring until smooth.
- Beat the eggs on high speed for 2-3 minutes until frothy, then mix in the cooled chocolate mixture.
- Combine flour, cocoa powder, baking powder, and kosher salt with the wet ingredients and mix until just combined.
- Spread the brownie batter into the prepared pan and bake for 25-30 minutes until a toothpick comes out with a few moist crumbs.
- Melt 20 oz of chocolate chips with 1 tbsp of coconut oil in a microwave-safe bowl for coating.
- Dip each brownie square into the melted chocolate coating and place on a lined baking sheet to set.