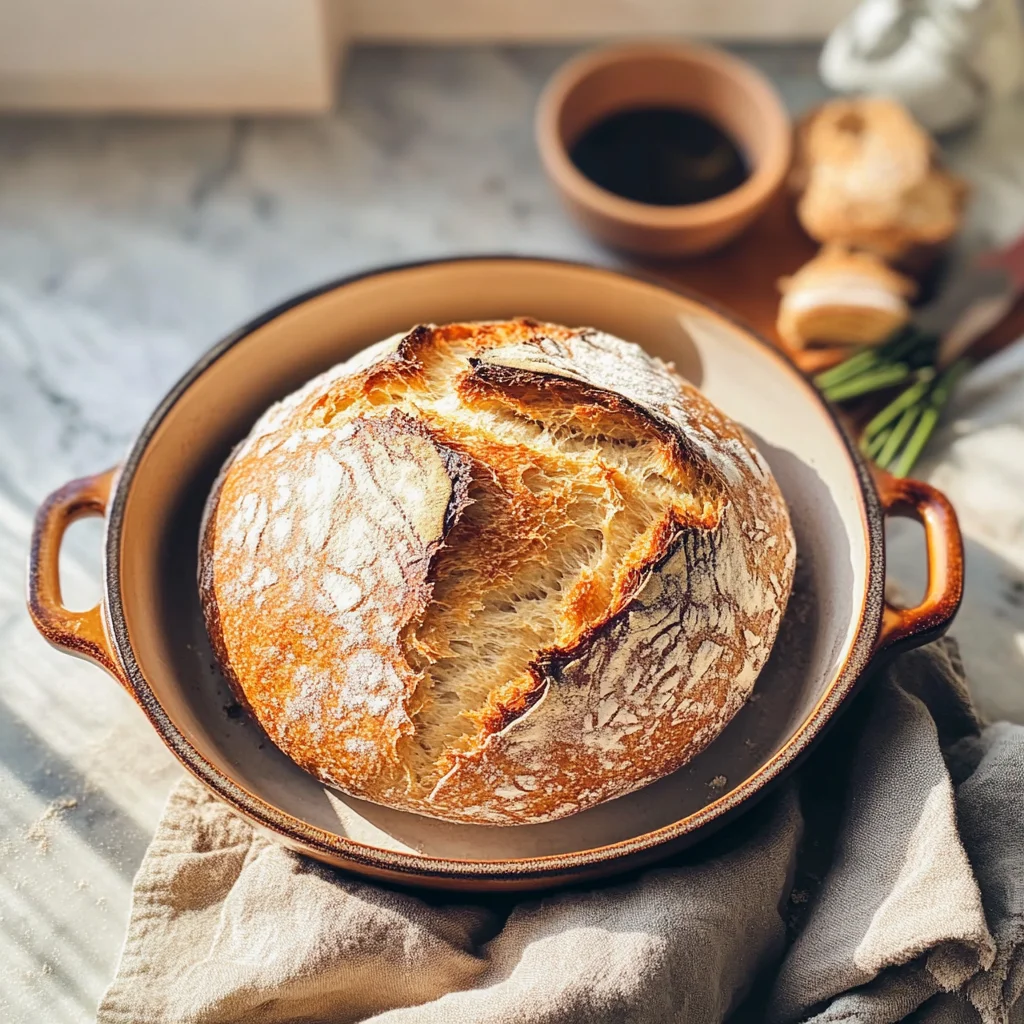
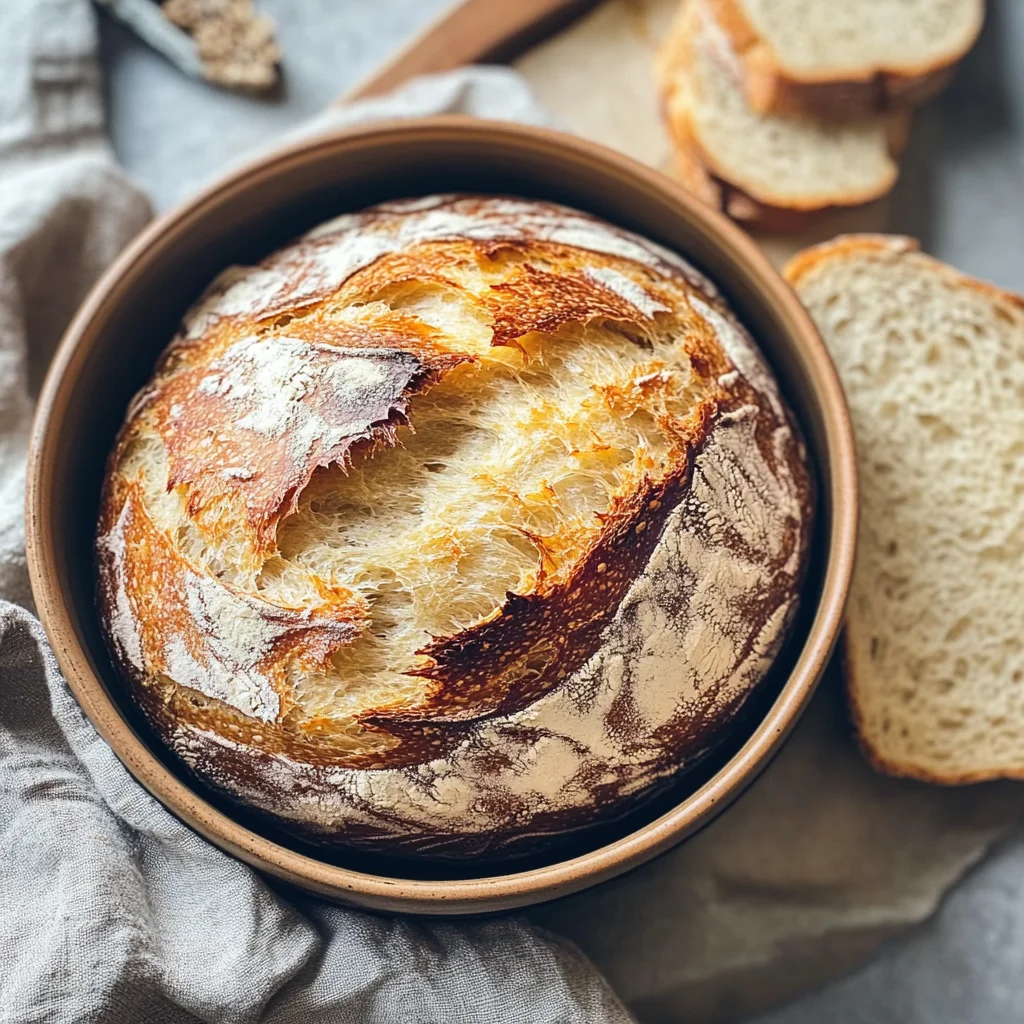
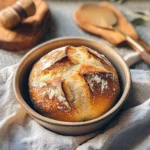
No-Knead Bread
If you’re looking for a simple and satisfying way to make homemade bread, you’ve come to the right place! This No-Knead Bread recipe is my go-to for creating that warm, bakery-fresh aroma in my kitchen. With just a few ingredients and minimal effort, you can whip up a loaf that’s soft inside and crusty outside. It’s perfect for busy weeknights, cozy family gatherings, or any time you want to impress your friends with a delicious homemade treat.
What I love most about this recipe is its simplicity. You don’t need to be an expert baker or have any special skills—just a little patience while the dough rises. Plus, this no-knead method means less mess and fewer dishes to clean up afterward!
Why You’ll Love This Recipe
- Super easy to make: With only 5 minutes of hands-on work, anyone can bake their own bread.
- Perfectly crispy crust: The dutch oven creates a steamy environment that gives the bread that desirable crunchy outer layer.
- Family-friendly delight: Kids and adults alike will love the taste of fresh bread straight from the oven!
- Make-ahead convenience: Prepare the dough in advance and bake it when you’re ready for a warm treat.
- Versatile use: Enjoy it as an appetizer, side dish, or even breakfast toast!
Ingredients You’ll Need
Making No-Knead Bread requires just a handful of simple, wholesome ingredients that you might already have in your pantry. Let’s gather what we need!
For the Bread
- 3 ⅓ cups all-purpose flour (you can also use wheat or spelt flour)
- 1 ½ cups lukewarm water (about 104 °F or 40 °C)
- 2 tsp salt
- 8 g fresh yeast (or ¾ tsp dry yeast)
Variations
One of the best things about this No-Knead Bread recipe is how flexible it is! You can easily customize it to suit your taste preferences. Here are some delicious ideas:
- Add herbs: Mix in dried herbs like rosemary or thyme for an aromatic twist.
- Cheesy goodness: Fold in shredded cheese for a delightful cheesy bread experience.
- Nutty crunch: Toss in some walnuts or sunflower seeds for added texture and flavor.
- Sweet twist: Incorporate a touch of honey or dried fruits like raisins for a sweet version.
How to Make No-Knead Bread
Step 1: Mix the Ingredients
In a large mixing bowl, combine the flour, salt, and yeast. Pour in the lukewarm water and stir until everything is well combined. This step is crucial because it allows all ingredients to hydrate properly, leading to that lovely soft texture we adore.
Step 2: Let It Rise
Cover your bowl with plastic wrap or a clean kitchen towel. Now comes the waiting part—let it rise at room temperature for about 12-18 hours. The long resting time is what develops those wonderful flavors and gives us that airy crumb we’re looking for.
Step 3: Shape the Dough
Once your dough has risen nicely and has bubbles on the surface, turn it out onto a floured surface. Gently shape it into a ball without kneading too much; you want to keep all that air inside!
Step 4: Preheat Your Dutch Oven
While shaping your dough, preheat your dutch oven at 450 °F (230 °C) with its lid on. This helps create steam when you place your dough inside, which is key for developing that crusty exterior.
Step 5: Bake Your Bread
Carefully remove your hot dutch oven from the oven and place your shaped dough inside. Cover with the lid and bake for about 30 minutes. Then remove the lid and bake for another 15 minutes until it’s golden brown. The smell will be irresistible!
Enjoy making this No-Knead Bread—it’s sure to become a favorite in your home!
Pro Tips for Making No-Knead Bread
Baking no-knead bread is a breeze, and with these helpful tips, you’ll ensure your loaf turns out perfect every time!
-
Use high-quality flour: The better the flour, the better your bread will taste. Opt for unbleached all-purpose or whole grain flours like spelt for added flavor and nutrition.
-
Measure water accurately: Water temperature matters! Using lukewarm water (around 104 °F or 40 °C) helps activate the yeast effectively, leading to a beautifully risen loaf.
-
Let it rest: Patience is key! Allowing the dough to rest for at least 12-18 hours gives the flavors time to develop and results in a lighter texture.
-
Preheat your Dutch oven: A hot pot creates steam when you place the dough inside, which is crucial for achieving that signature crispy crust. Preheat it for at least 30 minutes before baking.
-
Experiment with mix-ins: Feel free to add herbs, seeds, or even cheese to your dough! This can elevate your no-knead bread to a whole new level of deliciousness.
How to Serve No-Knead Bread
Serving no-knead bread is as enjoyable as making it! Its rustic charm pairs beautifully with various meals and garnishes.
Garnishes
- Olive oil and balsamic vinegar: Drizzle some high-quality olive oil alongside balsamic vinegar for dipping. It adds a lovely richness and tang.
- Fresh herbs: Sprinkle chopped fresh herbs like rosemary or thyme on top just before serving. They provide a fragrant touch that enhances the bread’s appeal.
Side Dishes
- Soup: A warm bowl of tomato basil soup or hearty vegetable stew makes for a comforting pairing. The bread is perfect for dipping!
- Salad: Serve with a light side salad featuring mixed greens, cherry tomatoes, and a zesty vinaigrette. The crispness of the salad complements the soft interior of the bread nicely.
- Cheese platter: Create a simple cheese board with a variety of cheeses, nuts, and fruits. The no-knead bread acts as an excellent base for building delicious bites.
- Roasted vegetables: Pair your fresh loaf with roasted seasonal veggies drizzled in olive oil. Their caramelized flavors are a delightful contrast to the bread’s crusty exterior.
With these serving suggestions and tips, you’re all set to enjoy your no-knead bread in style! Happy baking!
Make Ahead and Storage
This no-knead bread is perfect for meal prep! You can easily make a batch ahead of time, ensuring you always have fresh bread on hand for sandwiches, toast, or simply enjoying with a little butter.
Storing Leftovers
- Let the bread cool completely before storing.
- Wrap it in a clean kitchen towel or place it in a paper bag to maintain freshness.
- Store at room temperature for up to 3 days.
- For longer storage, consider freezing.
Freezing
- Slice the bread before freezing for easy access.
- Wrap each slice tightly in plastic wrap or aluminum foil.
- Place the wrapped slices in a freezer-safe bag and label with the date.
- Freeze for up to 3 months.
Reheating
- To reheat, preheat your oven to 350 °F (175 °C).
- Place the bread directly on the oven rack or a baking sheet.
- Heat for about 10-15 minutes until warmed through and crispy.
- Alternatively, use a toaster for individual slices.
FAQs
Here are some common questions about making no-knead bread:
Can I use whole wheat flour for no-knead bread?
Yes! You can substitute all-purpose flour with whole wheat flour or even spelt flour. Just remember that whole grain flours may yield a denser loaf.
How long does no-knead bread need to rise?
The no-knead bread dough should rise for at least 12 hours at room temperature. This long fermentation helps develop flavor and texture.
What if I don’t have fresh yeast?
You can use dry yeast instead. Simply replace 8 g of fresh yeast with about ¾ teaspoon of dry yeast in your recipe.
Is no-knead bread really that easy?
Absolutely! This no-knead bread recipe requires only five minutes of active work, making it one of the simplest homemade breads you’ll ever make!
How do I know when my no-knead bread is done baking?
Your no-knead bread is done when it has a golden brown crust and sounds hollow when tapped on the bottom. A thermometer inserted into the center should read around 200 °F (93 °C).
Final Thoughts
I truly hope you enjoy making this delightful no-knead bread as much as I do! It’s such a special recipe that transforms simple ingredients into something extraordinary with minimal effort. Your home will smell amazing, and you’ll be so proud of your homemade creation! Give it a try and savor every bite—you deserve it!
No-Knead Bread
If you’re eager to enjoy the warm, comforting taste of homemade bread without the fuss, this No-Knead Bread recipe is your answer! Ideal for both novice bakers and seasoned pros, this easy recipe requires minimal hands-on effort and yields a delightful loaf with a crispy crust and soft, airy interior. Perfect for serving at family gatherings or just enjoying fresh out of the oven, this bread not only fills your home with an irresistible aroma but also impresses everyone with its artisan quality. With some simple ingredients and a little patience, you’ll have a delicious loaf ready to complement any meal or stand alone as a delightful snack.
- Prep Time: 5 minutes
- Cook Time: 45 minutes
- Total Time: 50 minutes
- Yield: Approximately 12 servings 1x
- Category: Bread
- Method: Baking
- Cuisine: Homemade
Ingredients
- 3 ⅓ cups all-purpose flour (or wheat/spelt flour)
- 1 ½ cups lukewarm water (about 104 °F)
- 2 tsp salt
- 8 g fresh yeast (or ¾ tsp dry yeast)
Instructions
- In a large bowl, mix flour, salt, and yeast together.
- Gradually pour in lukewarm water and stir until fully combined.
- Cover the bowl with plastic wrap or a towel and let the dough rise at room temperature for 12-18 hours.
- After rising, gently shape the dough into a ball on a floured surface.
- Preheat your Dutch oven to 450 °F (230 °C) for at least 30 minutes.
- Carefully place the dough into the hot Dutch oven, cover it with the lid, and bake for 30 minutes.
- Remove the lid and bake for an additional 15 minutes until golden brown.
Nutrition
- Serving Size: 1 serving
- Calories: 150
- Sugar: 0g
- Sodium: 190mg
- Fat: 0.5g
- Saturated Fat: 0g
- Unsaturated Fat: 0.5g
- Trans Fat: 0g
- Carbohydrates: 31g
- Fiber: 1g
- Protein: 4g
- Cholesterol: 0mg