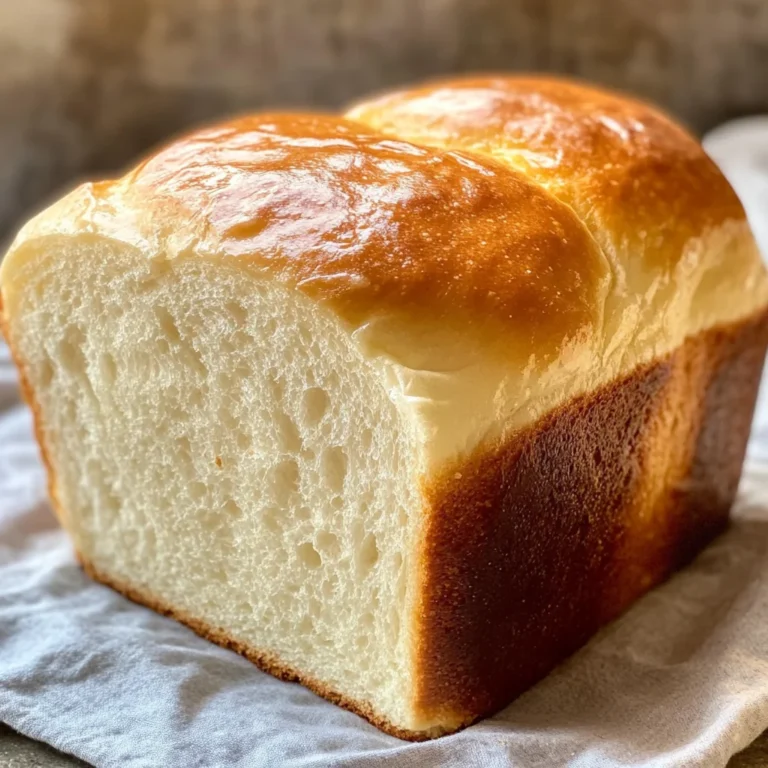
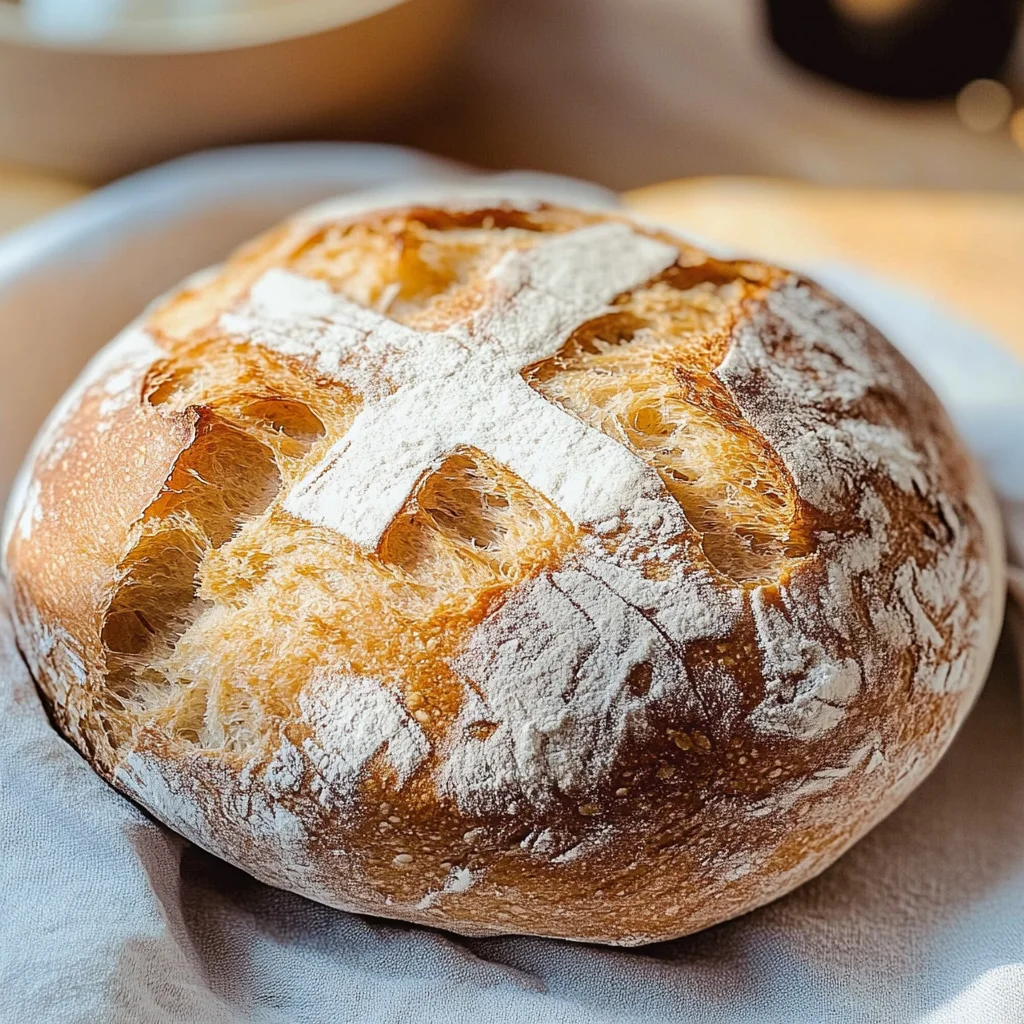
Dairy Free Bread
If you’re looking for a simple and satisfying way to enjoy homemade bread, this Dairy Free Bread recipe is just what you need! It’s perfect for busy weeknights or cozy family gatherings. There’s nothing quite like the smell of freshly baked bread wafting through your home—trust me, it’ll bring everyone into the kitchen! Plus, this recipe has no yeast, which means you can whip it up quickly without any waiting around.
This dairy-free bread is not only delicious but also incredibly versatile. You can enjoy it toasted for breakfast, used as a side for dinner, or even as the base for your favorite sandwiches. Let’s dive in!
Why You’ll Love This Recipe
- Quick and Easy: This bread comes together in just 35 minutes from start to finish!
- No Yeast Required: Say goodbye to waiting for dough to rise. This recipe skips that step entirely.
- Family-Friendly: Kids and adults alike will love the fluffy texture and mild flavor.
- Versatile Use: Perfect for breakfast, lunch, or dinner—this bread fits any meal.
- Make Ahead Convenience: Bake a batch ahead of time and store it for easy meals throughout the week.
Ingredients You’ll Need
To make this delightful dairy-free bread, you’ll need some simple and wholesome ingredients. No fancy additions here—just good old-fashioned pantry staples that come together beautifully!
- 1 cup milk of choice (I used oat milk)
- 2 tablespoons white vinegar (* See notes)
- 2 cups all-purpose flour (Use gluten-free if needed)
- 1/2 teaspoon baking soda
- 1/2 teaspoon salt
- 1 tablespoon sugar
Variations
This recipe is wonderfully flexible! Feel free to play around with different ingredients to suit your taste or dietary needs. Here are a few fun ideas:
- Add Herbs: Mix in some fresh or dried herbs like rosemary or thyme for extra flavor.
- Incorporate Seeds: Sprinkle chia or sunflower seeds into the dough for added texture and nutrition.
- Sweeten It Up: Swap out regular sugar for maple syrup or honey (if not strictly vegan) to give it a hint of sweetness.
- Experiment with Flours: Try using whole wheat flour or almond flour for a different twist on this classic recipe.
How to Make Dairy Free Bread
Step 1: Preheat Your Oven
Preheat the oven to 200C/400F. Line a large baking tray with parchment paper and set it aside. Preheating ensures that your bread will bake evenly and develop that lovely golden crust!
Step 2: Curate Your Milk Mixture
In a small bowl, combine your chosen milk with white vinegar and let it sit until curdled—about 10 minutes. This step creates a buttermilk substitute that adds moisture and flavor to your bread.
Step 3: Combine Dry Ingredients
In a large mixing bowl, mix together the all-purpose flour, salt, sugar, and baking soda thoroughly. This ensures that all the leavening agents are evenly distributed before adding in the wet ingredients.
Step 4: Mix It All Together
Using a 1/2 cup measure, add your curdled milk mixture into the dry ingredients in two increments while mixing gently until just combined. Be careful not to overmix; we want our dough light and airy!
Step 5: Knead Gently
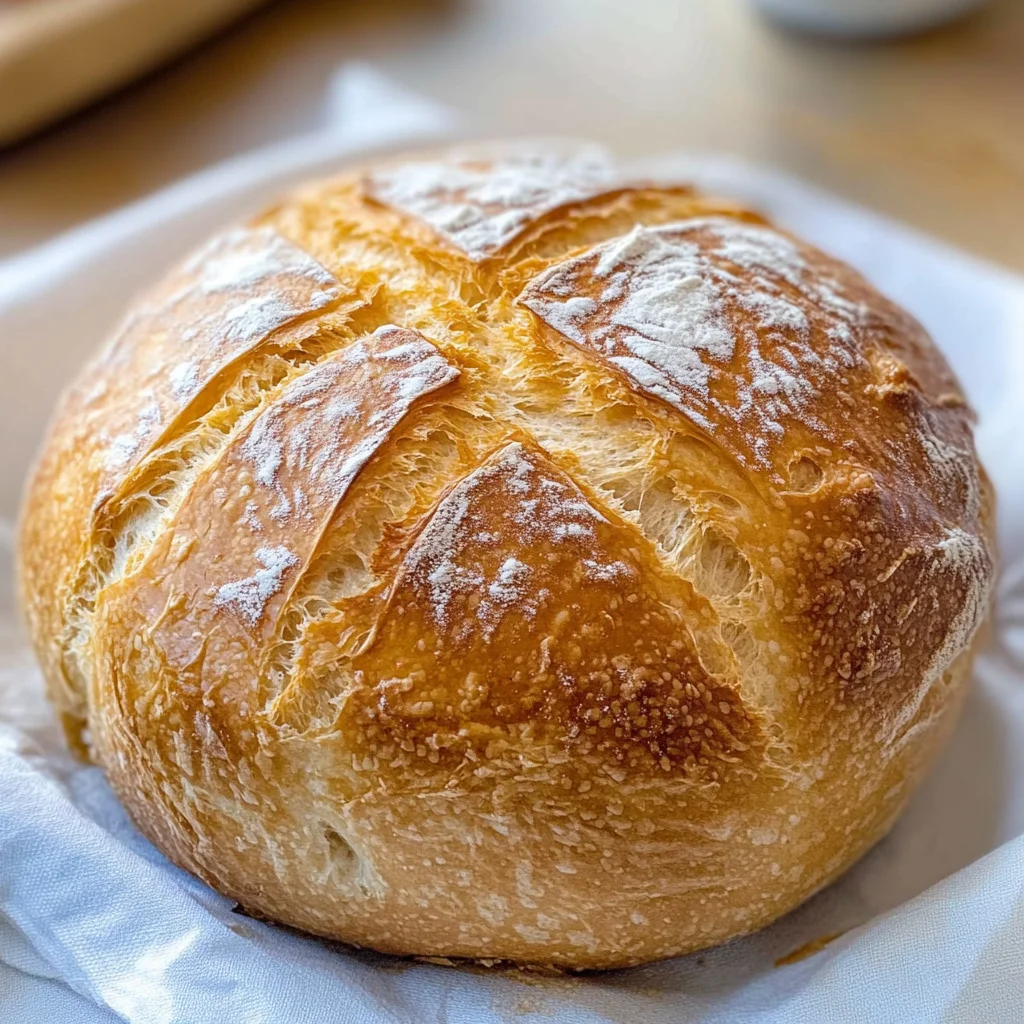
Lightly flour your kitchen surface. Transfer the sticky dough onto this surface and sprinkle a tablespoon of flour on top. Gently knead the dough about 8-10 times until it comes together into a dome shape. Using a sharp knife, slice twice across the top of the dough—this helps it rise beautifully in the oven.
Step 6: Bake Your Bread
Transfer your shaped dough onto the prepared baking tray. Bake for about 20-25 minutes, checking at around the 20-minute mark. You’ll know it’s ready when it’s golden brown on top and sounds hollow when tapped on the bottom!
Step 7: Cool Before Slicing
Once baked, remove from the oven and allow your delicious dairy-free bread to cool completely on the tray before slicing. This cooling time helps set its structure so you can enjoy perfectly toasted slices later on!
Now you’re ready to delight in homemade Dairy Free Bread! Enjoy every fluffy bite!
Pro Tips for Making Dairy Free Bread
Baking bread can feel daunting, but with a few simple tips, you can create the perfect loaf every time!
- Use fresh ingredients: Ensure your baking soda is fresh. Old baking soda can result in flat bread, so always check the expiration date before using it.
- Don’t skip the curdling step: Allowing your milk to curdle with vinegar is crucial. This creates a buttermilk-like consistency that adds moisture and flavor to your bread.
- Knead gently: Keep your kneading light and minimal. Over-kneading can lead to tough bread; you want it soft and fluffy!
- Check for doneness carefully: The visual cue of golden-brown tops is important, but listen for that hollow sound when tapping the bottom. That’s your sign for perfectly cooked bread.
- Store properly: To keep your dairy-free bread fresh longer, store it in an airtight container at room temperature. It will stay delicious for days!
How to Serve Dairy Free Bread
This dairy-free bread is versatile and can be enjoyed in many delightful ways. Whether you’re serving it at breakfast or as part of a cozy dinner, here are some ideas to make it shine.
Garnishes
- Fresh herbs: Chopped parsley or chives sprinkled on top add a burst of color and flavor.
- Olive oil drizzle: A light drizzle of high-quality olive oil enhances the richness of the bread without dairy.
- Vegan butter spread: Use a plant-based butter spread for an extra layer of creaminess that complements the warm toast.
Side Dishes
- Avocado salad: Creamy avocado tossed with cherry tomatoes and lime juice makes a refreshing side that pairs beautifully with the bread.
- Roasted vegetables: Seasonal roasted veggies provide a hearty complement to this light loaf, adding nutrition and flavor.
- Hummus platter: Serve with assorted veggies and pita chips for dipping; this colorful plate brings plenty of flavor alongside your bread.
- Soup: A bowl of hearty vegetable or lentil soup will make for a comforting meal when paired with slices of warm dairy-free bread.
Enjoy this delightful dairy-free bread as part of any meal; it’s sure to be a hit!
Make Ahead and Storage
This dairy-free bread is fantastic for meal prep! You can easily whip up a batch and have it on hand for quick breakfasts, sandwiches, or just to enjoy with your favorite spreads.
Storing Leftovers
- Allow the bread to cool completely before storing.
- Wrap it tightly in plastic wrap or aluminum foil.
- Store at room temperature for up to 3 days or in the refrigerator for up to a week.
Freezing
- Slice the cooled bread before freezing for easier access later.
- Place slices in a single layer in a freezer-safe bag, removing as much air as possible.
- Freeze for up to 3 months.
Reheating
- To reheat from frozen, preheat your oven to 180C/350F and bake for about 10-15 minutes until warmed through.
- Alternatively, toast slices directly from the freezer until golden and heated.
FAQs
Here are some common questions you might have about making dairy-free bread.
Can I use any milk for this Dairy Free Bread?
Absolutely! You can use any non-dairy milk of your choice such as almond milk, soy milk, or cashew milk. Just ensure it’s unsweetened if you prefer a more neutral flavor.
How do I achieve the best texture with my Dairy Free Bread?
To get that perfect fluffy texture, make sure not to over-knead the dough. A gentle mix is key. Also, using fresh baking soda will ensure a great rise!
Can I make changes to the ingredients in this recipe?
Yes! You can experiment with different types of flour like whole wheat or gluten-free blends. Just keep an eye on the moisture levels as they may vary.
How long does this Dairy Free Bread last?
When properly stored, it can last up to 3 days at room temperature or a week in the fridge. If frozen, aim to consume it within three months for optimal flavor.
Final Thoughts
I hope you find joy in making this dairy-free bread recipe! It’s simple yet rewarding—perfect for any occasion. Whether you’re enjoying it fresh out of the oven or toasted with your favorite toppings, I’m sure it will become a staple in your kitchen. Happy baking!
Dairy Free Bread
If you’re craving a warm, homemade loaf of bread that’s both satisfying and simple to make, this Dairy Free Bread recipe is exactly what you need. With no yeast required, this fluffy and crusty bread comes together in just 35 minutes, making it the perfect option for busy weeknights or family gatherings. The delightful aroma of freshly baked bread will entice everyone into the kitchen, while its versatility means you can enjoy it toasted for breakfast, alongside dinner, or as a base for your favorite sandwiches. Whether you’re looking to whip up a quick snack or make meal prep a breeze, this recipe is an absolute must-try!
- Prep Time: 10 minutes
- Cook Time: 25 minutes
- Total Time: 35 minutes
- Yield: Approximately 8 servings 1x
- Category: Breakfast
- Method: Baking
- Cuisine: American
Ingredients
- 1 cup oat milk (or any non-dairy milk)
- 2 tablespoons white vinegar
- 2 cups all-purpose flour (gluten-free if needed)
- 1/2 teaspoon baking soda
- 1/2 teaspoon salt
- 1 tablespoon sugar
Instructions
- Preheat your oven to 200C/400F and line a baking tray with parchment paper.
- In a small bowl, combine oat milk and vinegar; let sit until curdled (about 10 minutes).
- In a large mixing bowl, whisk together flour, salt, sugar, and baking soda.
- Gradually mix the curdled milk into the dry ingredients until just combined.
- Knead lightly on a floured surface for about 8-10 times; shape into a dome and slice the top twice.
- Place on the prepared tray and bake for 20-25 minutes until golden brown and hollow-sounding when tapped.
- Cool completely before slicing.
Nutrition
- Serving Size: 1 slice (40g)
- Calories: 120
- Sugar: 1g
- Sodium: 150mg
- Fat: 1g
- Saturated Fat: 0g
- Unsaturated Fat: 0g
- Trans Fat: 0g
- Carbohydrates: 23g
- Fiber: 1g
- Protein: 3g
- Cholesterol: 0mg