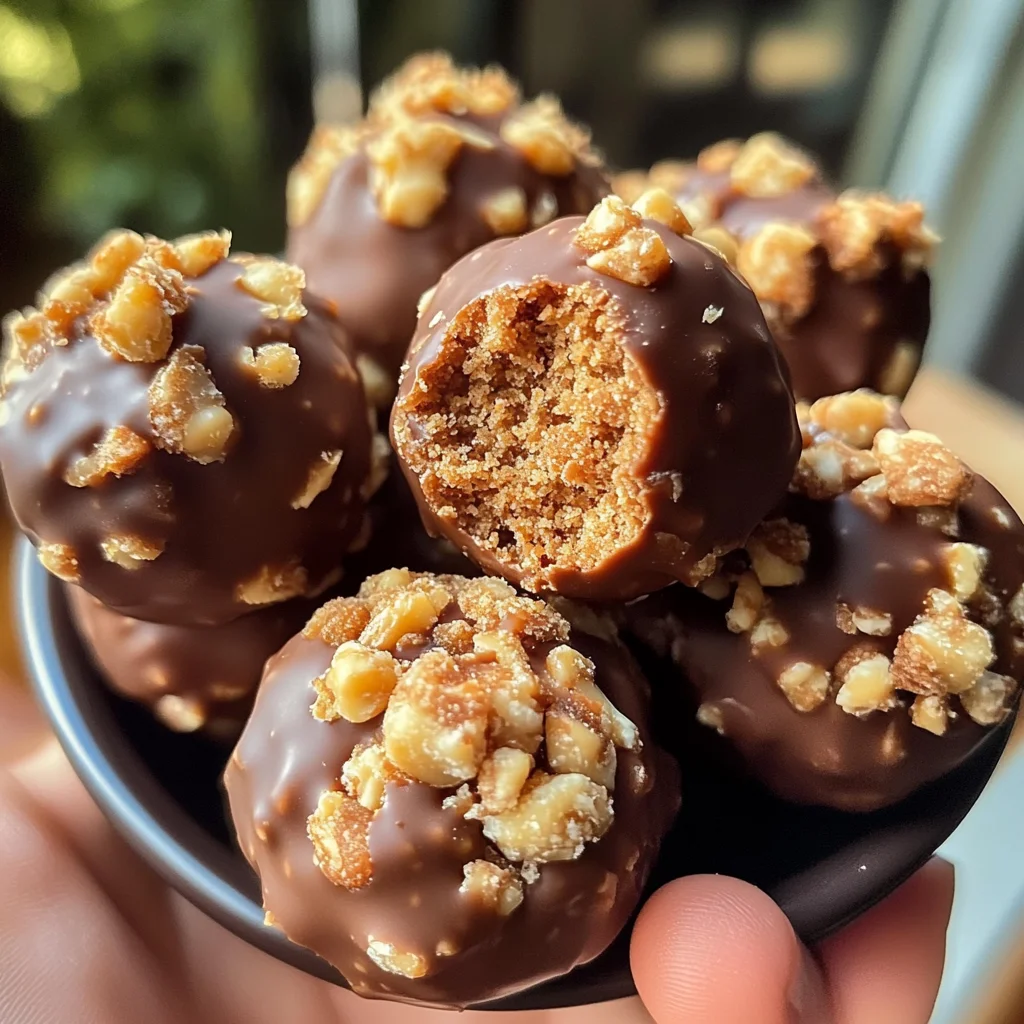
Butterfinger Balls
If you’re looking for a deliciously simple treat that combines the creamy richness of peanut butter with the delightful crunch of candy, then you’ve stumbled upon the perfect recipe: Butterfinger Balls! These little bites of joy are not only a crowd-pleaser but also incredibly easy to whip up. Imagine serving them at a family gathering or sharing them with friends at a cozy get-together—trust me, they’ll be gone in no time!
What makes these Butterfinger Balls truly special? It’s all about that wonderful blend of flavors and textures. The sweet and salty combination is just heavenly, while the chocolate coating adds an indulgent touch. Plus, they’re perfect for busy weeknights when you want to prepare something quick yet satisfying.
Why You’ll Love This Recipe
- Quick Preparation: With just 15 minutes of prep time, you can have these tasty treats ready in no time.
- Family-Friendly Appeal: Kids and adults alike will adore the sweet, crunchy bites—perfect for family gatherings!
- Make-Ahead Convenience: These Butterfinger Balls can be prepared in advance and stored for later, making them ideal for parties or snacking.
- Endless Customization: Feel free to get creative with toppings or mix-ins. You can make them your own!
- Decadent Flavor: The combination of peanut butter, graham crackers, and chocolate is simply irresistible.
Ingredients You’ll Need
Let’s gather some simple and wholesome ingredients to create these delightful Butterfinger Balls! Each one plays a key role in achieving that perfect balance of flavor and texture.
Ingredients:
– 4 tablespoons softened butter (½ stick)
– 1 teaspoon vanilla extract
– 8 ounces chocolate bark or chocolate chips
– ½ cup Butterfinger bars (crushed)
– 1 cup powdered sugar
– 1 cup peanut butter (avoid all-natural varieties)
– ¾ cup crumbs from graham crackers
– Optional garnishes: additional crushed Butterfinger bars, festive sprinkles, or coarse sea salt
Variations
This recipe is wonderfully flexible! If you want to switch things up a bit, here are some tasty variations you can try:
- Swap the Candy: Use crushed Reese’s Pieces or Skittles for a different flavor twist.
- Add Some Heat: For a spicy kick, sprinkle in some cayenne pepper into the mixture.
- Go Nutty: Mix in chopped nuts like almonds or walnuts for added crunch.
- Change Up the Chocolate: Experiment with white chocolate or dark chocolate coatings instead of milk chocolate.
How to Make Butterfinger Balls
Step 1: Prepare the Dough
In a mixing bowl, combine the peanut butter and softened butter. Using an electric mixer set to medium speed will ensure your mixture becomes creamy and uniform. This step is crucial as it creates the base for our sweet treats!
Step 2: Add Aromatic Notes
Now it’s time to incorporate that lovely vanilla extract! Blend it thoroughly into the mixture. This little addition enhances the overall flavor profile, making each bite even more delightful.
Step 3: Sweeten the Deal
Gradually add in your powdered sugar while mixing at low speed. This helps prevent a sugary cloud from forming! Don’t forget to scrape down the sides of your bowl so everything mixes evenly.
Step 4: Crunch Time
Gently fold in those delicious graham cracker crumbs and crushed Butterfinger bars. This is where we add texture to our dough, creating that signature crunch we all love.
Step 5: Shape ’em Up
Line a large cookie sheet with parchment paper. Scoop out about 1 to 1½ tablespoons of dough and roll it into neat balls. Place each one on the sheet; this is where they will chill out before being coated.
Step 6: Chilling Phase
Pop those dough balls into the freezer for about 30 minutes until they are nice and firm. This step ensures they hold their shape when coated in chocolate.
Step 7: Melting the Chocolate
Once your dough balls are chilled, it’s time to melt your chocolate! Use a microwave-safe bowl to heat it in short bursts—this helps avoid overheating. Stirring regularly allows any remaining lumps to melt smoothly.
Step 8: Chocolate Symphony
After melting your chocolate, dip each chilled ball into that luscious coating. Whether you choose to fully coat them or leave part of the peanut butter mixture exposed is totally up to you!
Step 9: Coat and Decorate
As you coat each ball with melted chocolate, don’t forget to sprinkle on some extra crushed Butterfinger bars or fun holiday-themed sprinkles if you’re feeling festive!
Step 10: Finishing Touches
Let those beautiful chocolates cool completely until they’re solidified before diving into your creation. Trust me; patience pays off with these delicious Butterfinger Balls!
Now you’re ready to enjoy these delightful morsels anytime! Happy snacking!
Pro Tips for Making Butterfinger Balls
Creating the perfect Butterfinger Bliss Balls is all about attention to detail and a sprinkle of love. Follow these tips to ensure your treats turn out divine!
-
Use room temperature ingredients: Starting with softened butter and room temperature peanut butter creates a smooth mixture, making it easier to blend and ensuring that your balls have a creamy texture.
-
Don’t skip the chilling: Freezing the dough balls before dipping in chocolate helps them hold their shape during coating. It also makes them easier to handle!
-
Be patient with melting chocolate: Melting chocolate slowly at a lower power prevents burning. This ensures a silky finish for your coating, giving each ball that glossy appearance everyone loves.
-
Experiment with toppings: Get creative with garnishes! Trying different toppings, like crushed nuts or colorful sprinkles, not only adds visual appeal but can also enhance flavor.
-
Keep them refrigerated: Store your Butterfinger Balls in the refrigerator after they are made. This keeps them firm and refreshing, perfect for satisfying that sweet tooth!
How to Serve Butterfinger Balls
Presenting your Butterfinger Bliss Balls beautifully can make all the difference at any gathering. Here are some fun ways to serve these delightful treats!
Garnishes
- Crushed Nuts: Sprinkle chopped peanuts or almonds on top for an extra crunch and nutty flavor that pairs perfectly with the peanut butter base.
- Drizzle of Chocolate: Add a decorative drizzle of melted chocolate on top of the balls for an elegant touch that looks as good as it tastes.
- Coconut Flakes: Rolling some of the balls in shredded coconut gives them a tropical flair—plus, they taste amazing!
Side Dishes
- Fresh Fruit Platter: A mix of berries, apple slices, and bananas provides a refreshing contrast to the rich sweetness of the Butterfinger Balls.
- Vanilla Ice Cream: Serve alongside a scoop of vanilla ice cream for a classic dessert pairing that balances richness with creaminess.
- Chocolate Dipped Pretzels: The salty-sweet combo of pretzels dipped in chocolate complements the flavors in your Butterfinger Bliss Balls and adds an exciting crunch.
- Coffee or Hot Chocolate: Offering a warm beverage like coffee or hot chocolate enhances the dessert experience by providing comforting warmth against the sweet treats.
With these serving suggestions and pro tips, you’re all set to impress your guests while enjoying every delicious bite of your homemade Butterfinger Bliss Balls! Happy indulging!
Make Ahead and Storage
These Butterfinger Bliss Balls are not only delicious but also perfect for meal prep! You can whip up a batch ahead of time, making them an excellent treat for busy days or last-minute gatherings.
Storing Leftovers
- Store the Butterfinger Balls in an airtight container at room temperature for up to 3 days.
- For longer freshness, keep them in the refrigerator where they can last for up to a week.
Freezing
- To freeze, place the chocolate-coated balls in a single layer on a baking sheet and freeze until firm.
- Once frozen, transfer them to a freezer-safe container or bag. They will stay good for about 2-3 months.
Reheating
- These delightful treats are best enjoyed chilled or at room temperature, so there’s no need to reheat.
- Simply take them out of the fridge or freezer and let them sit for a few minutes before serving!
FAQs
Here are some frequently asked questions about these scrumptious Butterfinger Balls.
Can I make Butterfinger Balls without peanut butter?
Yes! You can substitute peanut butter with sun butter or almond butter if you have allergies or prefer a different flavor.
How do I store leftover Butterfinger Balls?
You can store leftover Butterfinger Balls in an airtight container at room temperature for up to 3 days or refrigerate them for up to a week.
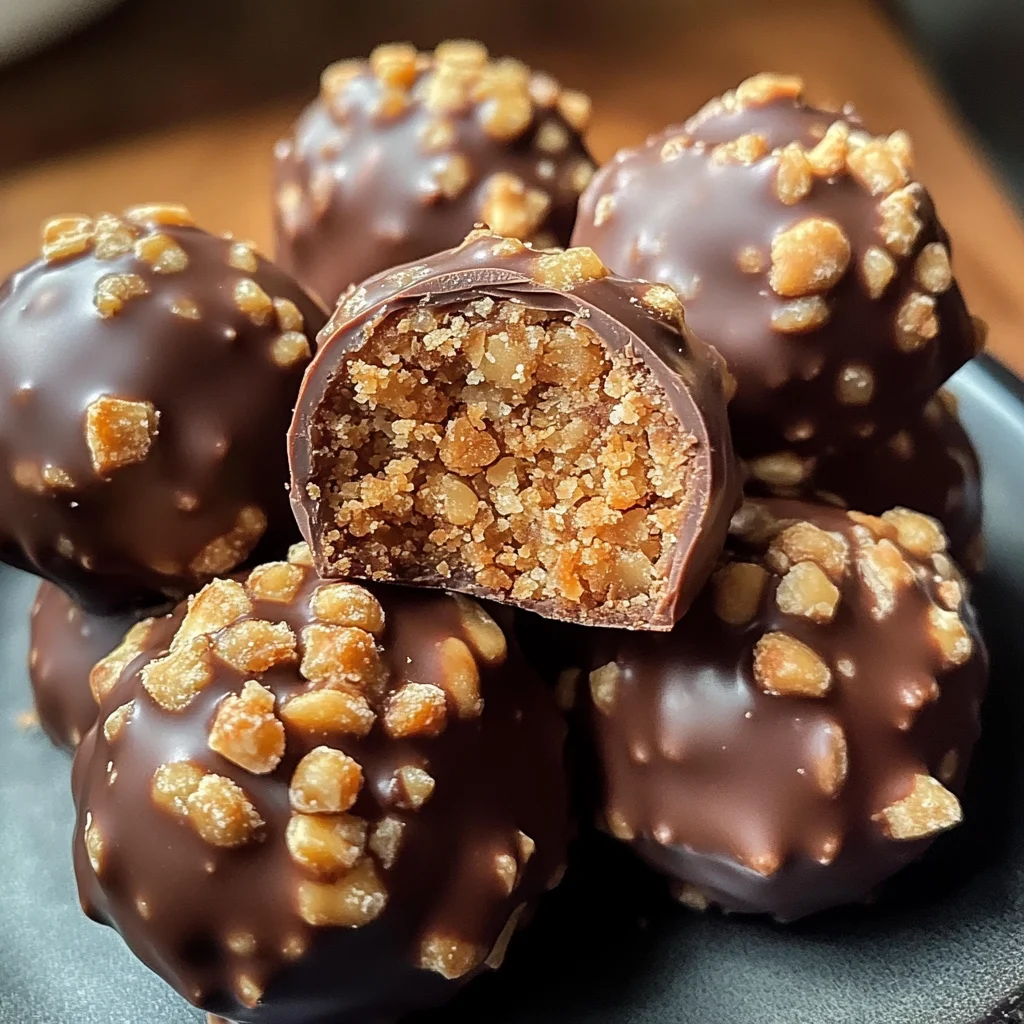
What makes these Butterfinger Balls so special?
The combination of creamy peanut butter, crunchy graham cracker crumbs, and crushed Butterfinger bars, all enveloped in melted chocolate, creates an irresistible treat!
Can I use other candy bars in place of Butterfinger?
Absolutely! Feel free to experiment with your favorite candy bars like Crunch or Reese’s Pieces for a personalized twist.
How long do Butterfinger Balls last in the freezer?
When stored properly, these tasty treats can last in the freezer for about 2-3 months.
Final Thoughts
I hope you enjoy making these delightful Butterfinger Bliss Balls as much as I do! They’re such a fun and easy treat that will be a hit at any gathering. Whether you’re preparing them for a party or just indulging yourself, each bite is sure to bring a smile. Happy baking, and don’t forget to share your creations with family and friends!
Butterfinger Balls
Indulge in the delightful world of Butterfinger Balls, a no-bake dessert that perfectly marries the creamy richness of peanut butter with the satisfying crunch of graham crackers and chocolate. These easy-to-make treats are not just delicious but also incredibly versatile, making them a hit at family gatherings or casual get-togethers. With just 15 minutes of preparation time, you can whip up these sweet bites that will disappear in an instant. Perfect for meal prep, these Butterfinger Balls can be made ahead of time, allowing you to enjoy them whenever the craving strikes. Plus, they offer endless opportunities for customization, whether you want to switch up the toppings or try different candy variations. Get ready to elevate your snacking game with this scrumptious recipe!
- Prep Time: 15 minutes
- Cook Time: No cooking required
- Total Time: 0 hours
- Yield: Approximately 20 servings 1x
- Category: Dessert
- Method: No-bake
- Cuisine: American
Ingredients
- 4 tablespoons softened butter
- 1 teaspoon vanilla extract
- 8 ounces chocolate bark or chocolate chips
- ½ cup crushed Butterfinger bars
- 1 cup powdered sugar
- 1 cup peanut butter
- ¾ cup graham cracker crumbs
Instructions
- In a mixing bowl, combine peanut butter and softened butter until creamy.
- Stir in vanilla extract until well blended.
- Gradually add powdered sugar while mixing at low speed; scrape down sides for even mixing.
- Fold in graham cracker crumbs and crushed Butterfinger bars.
- Roll mixture into balls (about 1 to 1½ tablespoons each) and place on a parchment-lined cookie sheet.
- Freeze for about 30 minutes until firm.
- Melt chocolate in short bursts in a microwave-safe bowl, stirring regularly.
- Dip each chilled ball into melted chocolate and place back on the sheet.
- Optional: sprinkle extra crushed Butterfinger bars on top before cooling completely.
Nutrition
- Serving Size: 1 ball (25g)
- Calories: 110
- Sugar: 10g
- Sodium: 50mg
- Fat: 7g
- Saturated Fat: 3g
- Unsaturated Fat: 4g
- Trans Fat: 0g
- Carbohydrates: 10g
- Fiber: 0g
- Protein: 2g
- Cholesterol: 5mg