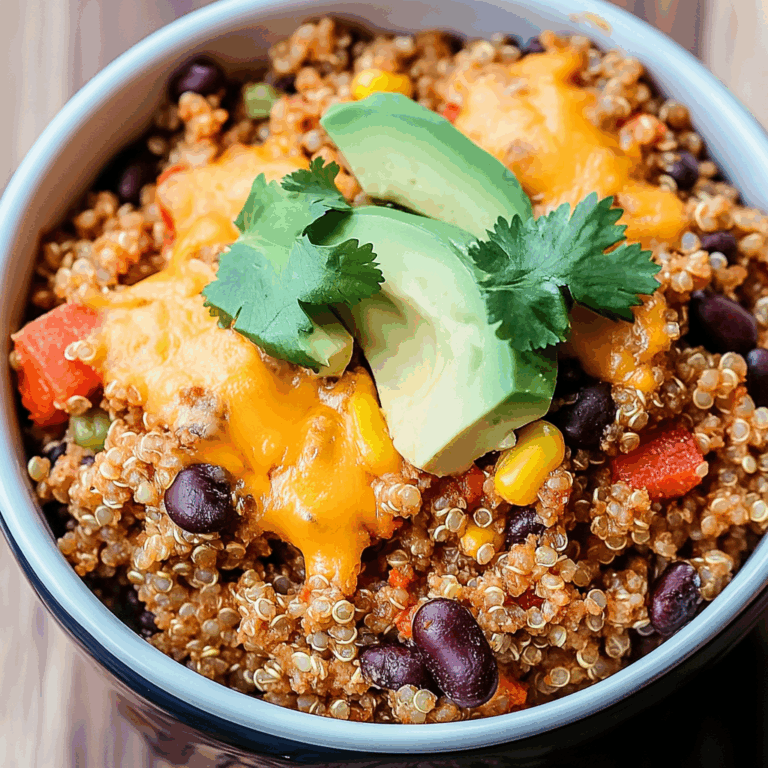
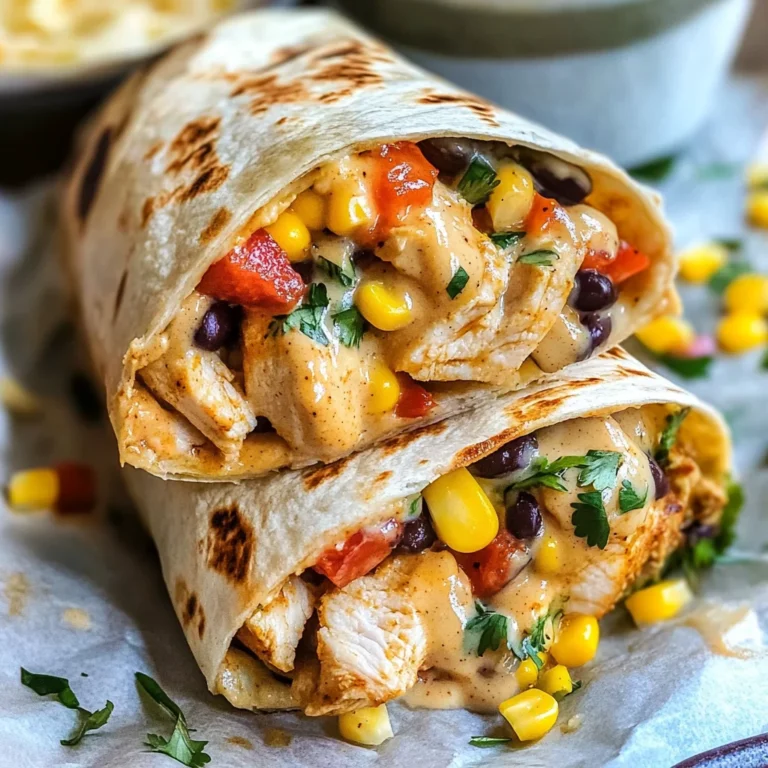
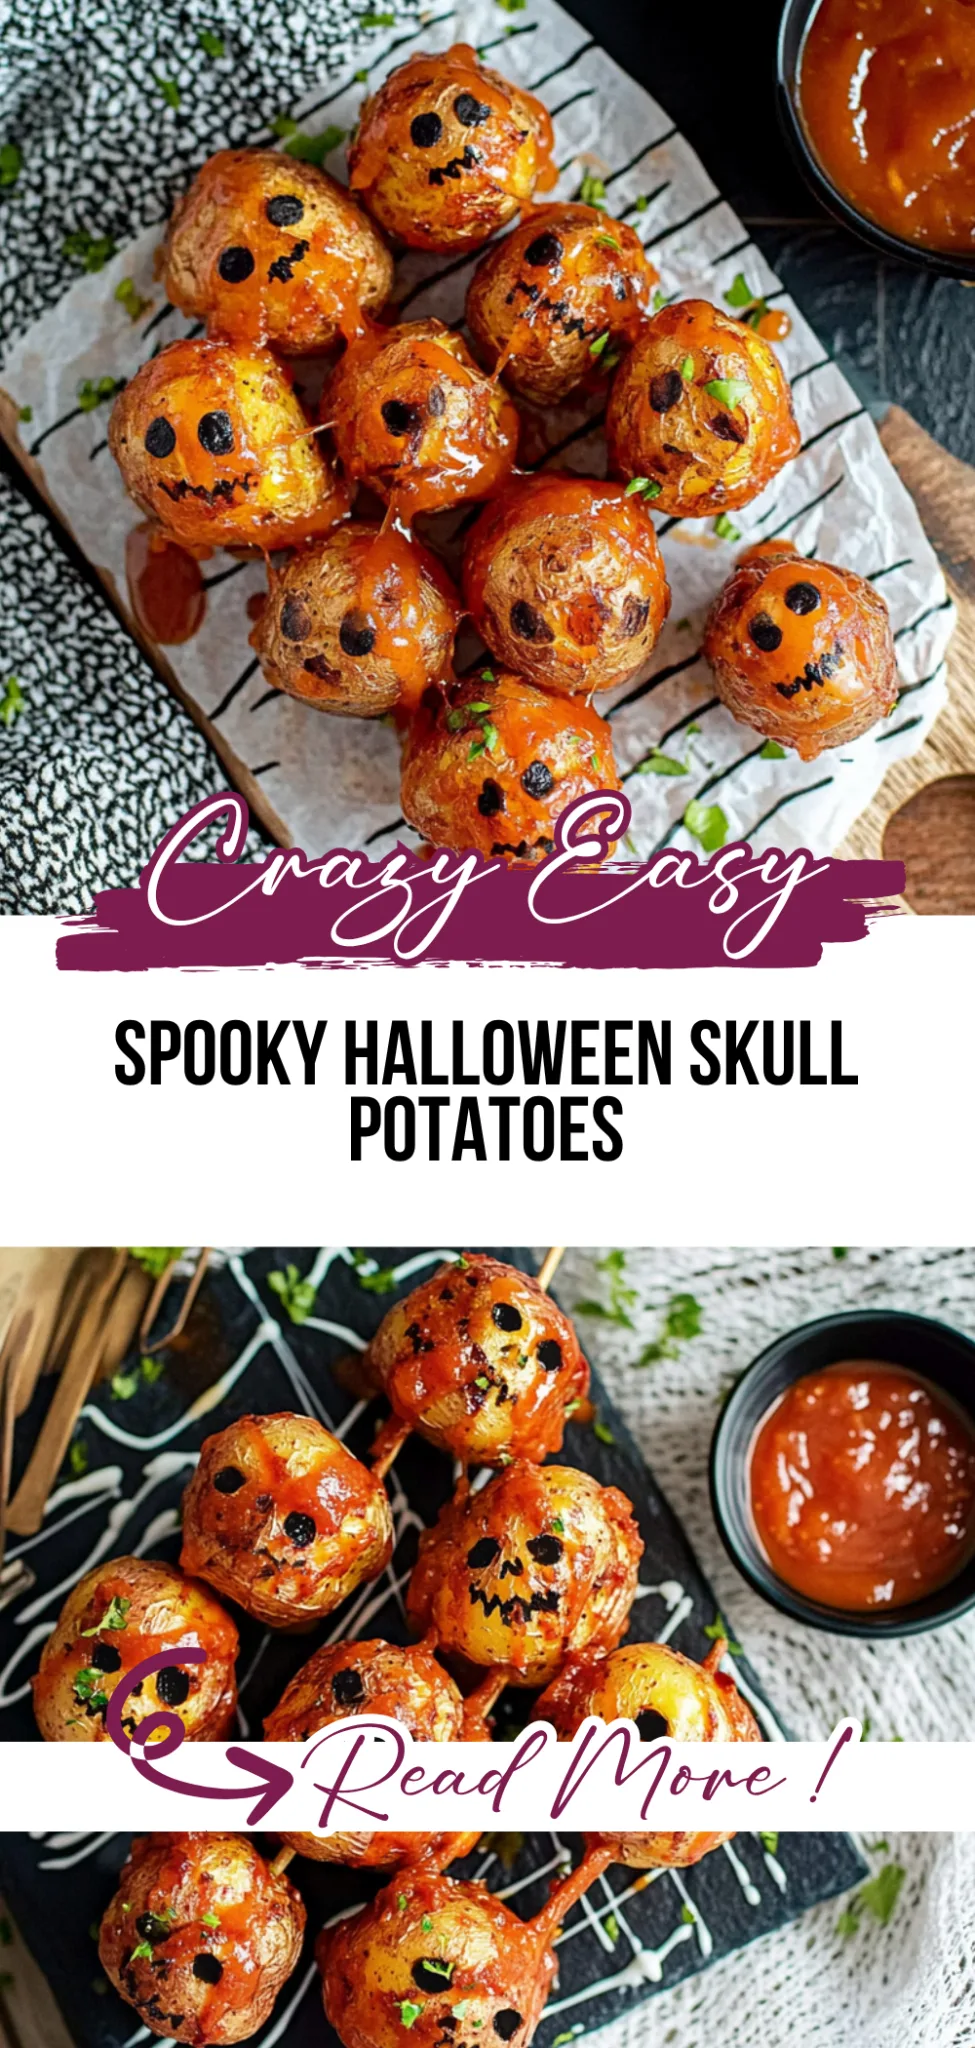
Spooky Halloween Skull Potatoes: Creepy and Delicious Treats
Creepy, Cute, and Totally Delicious
Last Halloween, I was searching for a fun dish to bring to our annual spooky gathering, and that’s when I stumbled upon the idea of Spooky Halloween Skull Potatoes. These adorable little skulls turned out to be incredibly easy to make, bursting with creamy flavor and a delightful texture that had everyone coming back for seconds. They were not only a hit but also added a playful spirit to our table.
What makes these spooky skull-shaped potatoes special is the way they fill the air with their savory aroma as they bake, instantly drawing everyone into the kitchen. The reactions were priceless as my friends couldn’t help but giggle at how cute and creepy they looked all at once. Perfect for kids and adults alike, these potatoes are ideal for cozy Halloween dinners or festive gatherings with loved ones.
To elevate your spooky feast, consider serving these delightful skulls alongside a rich dipping sauce or a fresh green salad for a balance of flavors. You could even sprinkle some chives or cheese on top for an extra touch of fun! Trust me, once you make these Spooky Halloween Skull Potatoes, they’ll become a beloved tradition in your home that everyone will look forward to year after year.
What are Spooky Halloween Skull Potatoes?
Spooky Halloween Skull Potatoes are a playful and festive dish that adds a fun twist to your Halloween gatherings. This delightful recipe features a creamy mixture made from tender Russet potatoes, melted butter, and milk, seasoned with garlic powder, salt, and black pepper for an irresistible flavor. The result is a deliciously buttery filling with a smooth texture that’s both comforting and satisfying. Baked to perfection and topped with sliced black olives for eyes and shredded cheddar cheese, these skull-shaped potatoes are not only visually appealing but also easy to prepare, making for minimal cleanup and maximum enjoyment at your spooky celebrations.
Perfect For:
Halloween Parties: These spooky skull-shaped potatoes are the perfect eye-catching side dish to impress your guests and add a festive touch to your Halloween celebration.
Family Gatherings: With a fun presentation that kids will love, these potatoes are an easy way to feed the whole family while keeping the Halloween spirit alive.
Budget-Friendly Festivities: Using simple ingredients, this recipe allows you to create an exciting dish without breaking the bank, making it perfect for any Halloween budget.
Comforting Fall Nights: As the weather cools down, these warm and hearty skull potatoes provide a cozy meal that’s both playful and satisfying for those chilly autumn evenings.
Ingredients for Spooky Halloween Skull Potatoes
- For the Potato Mixture
- 4 medium Russet Potatoes (peeled and cubed) – These starchy potatoes create a fluffy and creamy base for your spooky dish.
- 1/2 cup Butter (melted) – Adds richness and a savory flavor that makes every bite irresistible.
- 1/2 cup Milk (or cream) – Use milk for a lighter mash or cream for an extra decadent texture.
- 1 tsp Garlic Powder – Imparts a delightful garlicky essence that elevates the overall taste.
- 1 tsp Salt (to taste) – Enhances the flavors; adjust according to your preference.
- 1/2 tsp Black Pepper (to taste) – Adds a subtle kick; feel free to spice it up as you like.
- For the Decoration
- 1 cup Black Olives (sliced for eyes) – These creepy olives give your skull potatoes a spooky look while adding a briny flavor.
- 1 cup Cheddar Cheese (shredded for topping) – Melts beautifully on top, bringing a cheesy goodness that’s hard to resist in these Spooky Halloween Skull Potatoes.
Kitchen Equipment You’ll Need
- Large pot
- Colander
- Potato masher
- Baking sheet
- Skull-shaped cookie cutter
- Oven mitts
- Serving platter
How to Make Spooky Halloween Skull Potatoes
Step 1:
Preheat your oven to 400°F (200°C). This step is crucial for achieving that perfect golden finish on your skull potatoes, so don’t skip it!
Step 2:
Boil the cubed Russet potatoes in a pot of salted water until they are tender, which should take about 15 minutes. You’ll know they’re ready when you can easily pierce them with a fork.
Step 3:
Once the potatoes are tender, drain them well and return them to the pot. This will help any excess moisture evaporate, resulting in creamier mashed potatoes.
Step 4:
Add the melted butter, milk, garlic powder, salt, and black pepper to the drained potatoes. Mash everything together until it’s smooth and creamy; this is where those flavors really come to life!
Step 5:
Spread the mashed potato mixture evenly onto a baking sheet. Aim for an even layer so that each skull has a consistent thickness for cooking.
Step 6:
Using a skull-shaped cookie cutter, cut out skulls from the mashed potato spread. Press firmly but gently to ensure you get those spooky shapes without tearing the potatoes.
Step 7:
Place the baking sheet in your preheated oven and bake the skulls for about 15 minutes. Keep an eye on them; they should turn a lovely golden brown as they cook.
Step 8:
After baking, carefully remove the skulls from the oven and use sliced black olives to create eyes on each one. Then sprinkle shredded cheddar cheese generously on top for an extra cheesy touch!
Step 9:
Return the baking sheet to the oven for another 5 minutes or until the cheese is bubbly and melted. This will add a deliciously gooey texture that complements your spooky skulls perfectly.
Step 10:
Once finished, carefully transfer your spooky Halloween skull potatoes to a serving platter. Be gentle to preserve their shape as you move them!
Step 11:
Finally, serve these warm and enjoy your delightful Halloween treat with family and friends! They’ll be sure to impress at any gathering!
Tips
- Choose the right potatoes: Using medium Russet potatoes provides the ideal texture for mashing — they are starchy and will yield a creamy, smooth consistency that holds its shape when formed into skulls.
- Don’t rush the boiling process: Ensure your cubed potatoes are boiled until completely tender, around 15 minutes. Undercooked potatoes will be lumpy, making it difficult to achieve that smooth mash necessary for shaping.
- Mash thoroughly: After draining, return the potatoes to the pot and mash until completely smooth before adding other ingredients. This prevents any lumps that could affect both texture and presentation of your skulls.
- Adjust seasoning to taste: Before shaping the mashed potatoes, taste the mixture after adding salt and pepper. Adjusting the seasoning ensures each bite is flavorful and enhances the overall deliciousness of your spooky creation.
- Cool slightly before cutting: Allow the mashed potato mixture to cool for a few minutes on the baking sheet before using the cookie cutter. This helps reduce sticking and makes it easier to achieve clean edges on your skulls.
- Keep an eye on browning: When baking, watch closely during the final minutes as oven temperatures can vary. You want a nice golden color without letting them burn, so checking frequently ensures perfect results.
- Serve with flair: For an extra spooky touch, consider garnishing with additional cheese or a drizzle of sour cream before serving. This adds flavor depth and enhances the visual appeal of your Halloween dish!
Optional Ingredients
- Cream Cheese: Add a dollop of creamy richness to your potatoes by mixing in softened cream cheese. It will create an extra smooth texture and a delightful tang that complements the flavors beautifully.
- Jalapeños: For a spicy kick, finely chop fresh jalapeños and fold them into the potato mixture. Their heat will balance the creaminess, adding a fun surprise in every bite.
- Chives: Sprinkle chopped chives over the top just before serving for a fresh, oniony flavor and a pop of green color. They also add a lovely crunch that contrasts with the soft potatoes.
- Lemon Zest: Grate some lemon zest into the potato mixture for a bright, citrusy note that enhances the dish’s overall flavor profile. The zest will bring a refreshing contrast to the rich ingredients.
- Sour Cream: Serve your spooky skull potatoes with a side of sour cream for an extra layer of tanginess. It pairs perfectly with the cheesy topping and adds a delightful creaminess to each serving.
What to Pair with Spooky Halloween Skull Potatoes?
To create a balanced and festive meal, consider pairing your spooky skull potatoes with a fresh salad. A simple arugula salad with sliced apples and candied pecans provides a delightful contrast to the rich, creamy texture of the potatoes. The peppery arugula and sweet apples cut through the heaviness, while the crunch from the pecans adds an enjoyable texture that complements the soft skull-shaped delight.
For a heartwarming touch, serve your spooky potatoes alongside roasted Brussels sprouts tossed in balsamic glaze. The slight bitterness of the sprouts enhances the savory flavors of the cheddar and garlic in the potatoes, creating a delightful flavor profile. Plus, the caramelization from roasting brings out a sweetness that harmonizes beautifully with this Halloween treat.
Don’t forget about drinks! A crisp sparkling cider pairs wonderfully with your spooky dish, as its effervescence cleanses the palate between bites, balancing out the richness of the creamy potatoes. Alternatively, a light-bodied Chardonnay can elevate the meal; its fruity notes echo the flavors in your dish while providing a refreshing contrast that rounds out this festive feast perfectly.
Variations and Substitutions
Cauliflower Mashed Potatoes: Swap out the Russet potatoes for cauliflower florets for a lower-carb and lighter version of this spooky dish. Boil the cauliflower until tender, then mash it with butter, milk, garlic powder, salt, and pepper for a creamy texture that’s equally delicious and perfect for those watching their carbs.
Vegan Butter and Plant-Based Milk: For a dairy-free version, use vegan butter and plant-based milk (such as almond or oat milk) in place of regular butter and milk. This adaptation maintains the creaminess while offering a delightful nutty flavor, making it suitable for vegans and those with lactose intolerance.
Herbed Mashed Potatoes: Enhance the flavor by adding fresh herbs like chives or parsley to your mashed potatoes. Just chop them finely and mix them in after mashing. This will introduce a fresh, vibrant taste that complements the spooky skull shape beautifully.
Smoky Chipotle Flavor: Add 1 teaspoon of chipotle powder or smoked paprika to your potato mixture for a spicy kick. This variation brings a smoky depth and warmth to the dish, making it a fantastic option for those who enjoy bold flavors.
Sweet Potato Skulls: Use sweet potatoes instead of Russets for a naturally sweet flavor profile. The vibrant orange color not only adds visual appeal but also pairs wonderfully with the savory toppings, creating a delightful contrast that will surprise your guests.
Cream Cheese Addition: Mix in 1/4 cup of cream cheese when mashing your potatoes for an extra creamy and rich texture. This addition makes your skulls even more indulgent while also enhancing their flavor with a slight tanginess that pairs well with cheddar cheese on top.
Spicy Pepper Jack Cheese Topping: Instead of traditional cheddar cheese, opt for spicy pepper jack cheese to sprinkle on top before baking. This twist adds an exciting level of heat that will thrill spice lovers while still maintaining that gooey cheesy goodness we all crave!
How to Store
To store your Spooky Halloween Skull Potatoes in the refrigerator, allow them to cool completely before transferring them to an airtight container. They will keep well for up to 3 days. When you’re ready to enjoy them again, reheat in the microwave or oven at 350°F (175°C) until warmed through, adding a splash of milk or cream if needed to restore their creamy texture.
These spooky potatoes can be frozen, but keep in mind that the texture may change slightly upon thawing due to the moisture content of the potatoes and dairy. To freeze, portion the skull potatoes into freezer-safe containers or bags, ensuring they are well-sealed to prevent freezer burn. They will last for up to 2 months in the freezer; when you’re ready to eat them, thaw overnight in the fridge and reheat gently in the oven or microwave.
Frequently Asked Questions
Can I use a different type of potato for this recipe?
While Russet potatoes are ideal for a fluffy texture, you can substitute them with Yukon Gold potatoes for a creamier mash. Just keep in mind that the flavor and texture may vary slightly.
Is it necessary to peel the potatoes before boiling?
Yes, peeling the potatoes is recommended as it helps achieve a smoother mash. However, if you prefer a chunkier texture or want extra nutrients, you can leave the skins on.
Can I prepare these skull potatoes in advance?
Absolutely! You can make the mashed potato mixture ahead of time and store it in the refrigerator for up to 2 days. Just shape and bake them when you’re ready to serve.
How do I ensure the mashed potatoes are smooth?
To achieve the smoothest texture, make sure to mash the potatoes thoroughly after adding butter and milk. Using a potato ricer instead of a traditional masher can also help create an ultra-smooth consistency.
Can I use non-dairy alternatives for this recipe?
Yes, you can substitute butter with vegan butter and use non-dairy milk or cream to make this recipe dairy-free. The flavor will still be delicious while accommodating dietary preferences.
What should I do if my skulls don’t hold their shape while baking?
If your skulls are falling apart, try making sure your mashed potato mixture is thick enough before shaping. Adding a bit more cheese or letting them cool slightly after cutting can also help them maintain their form during baking.